Paver Sealing Tips
Paver Sealing Tips (and Why Hiring a Pro Beats DIY)
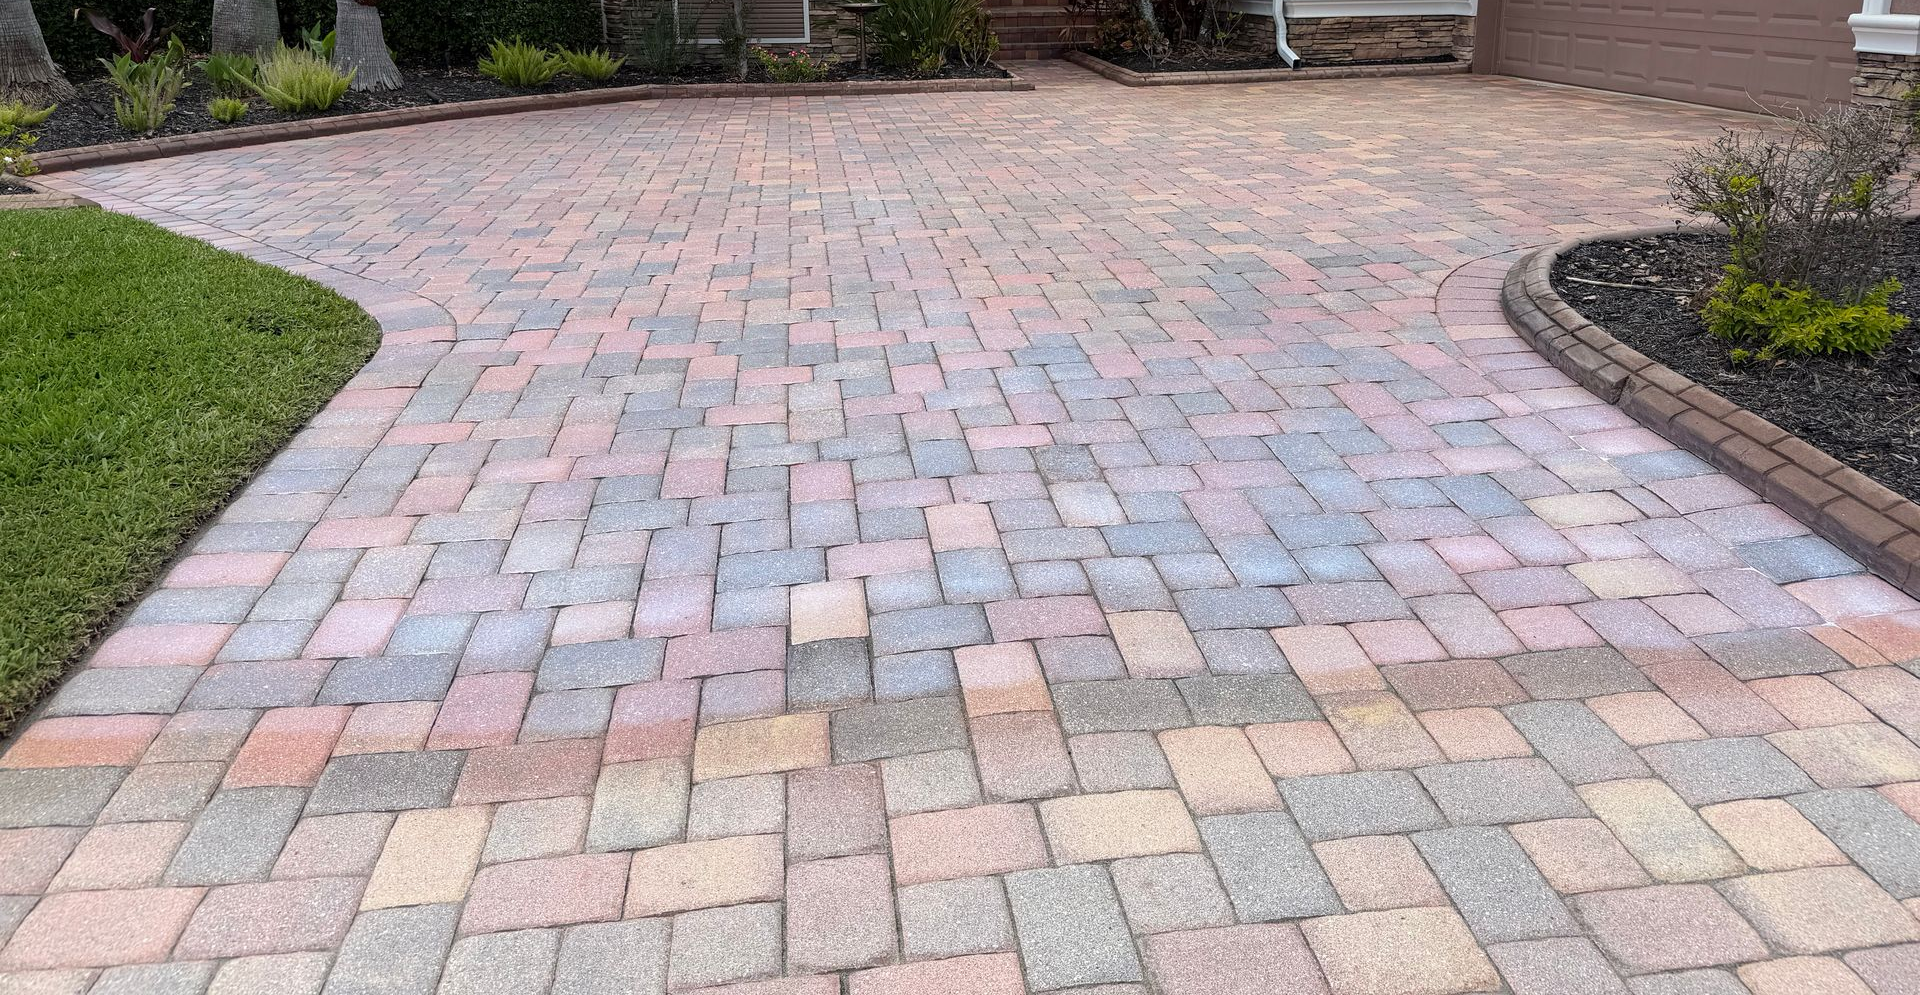
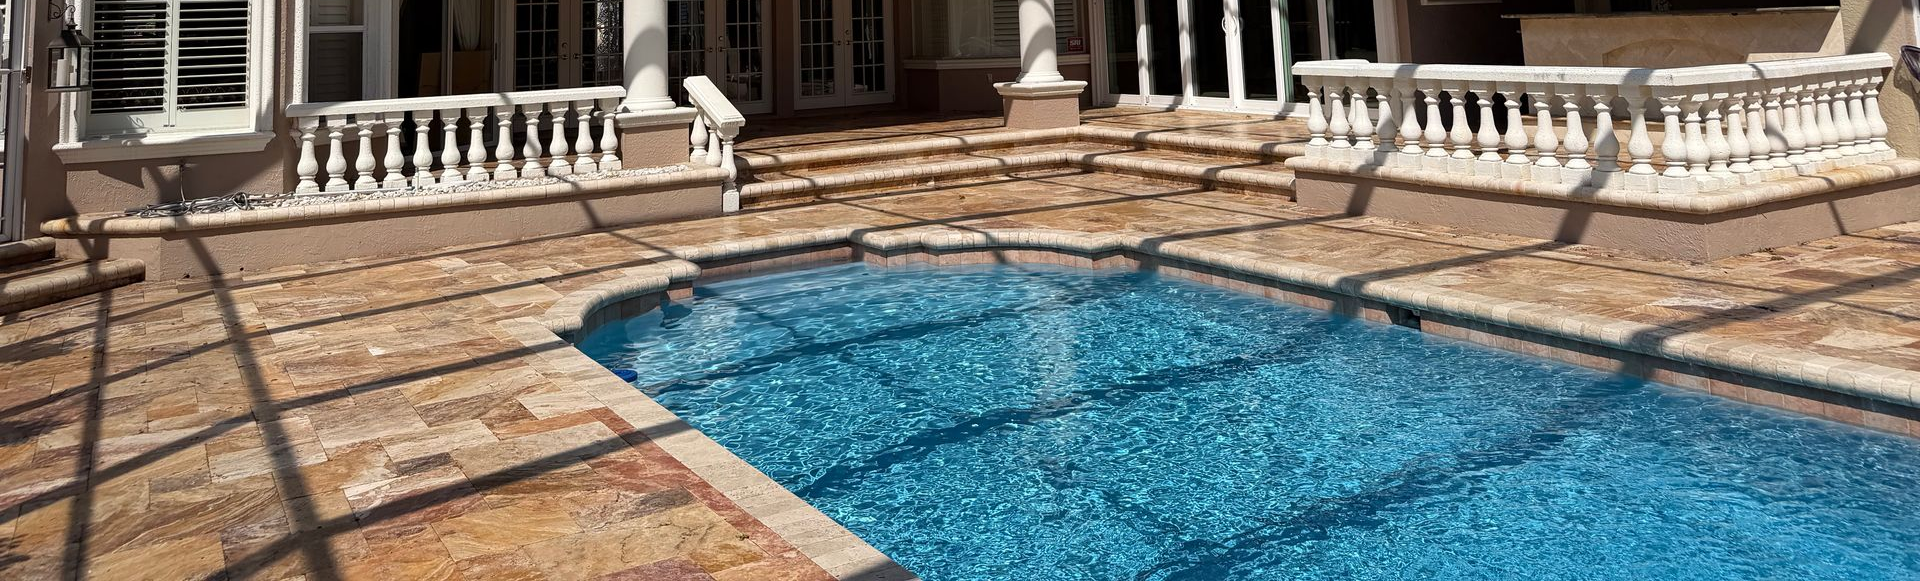
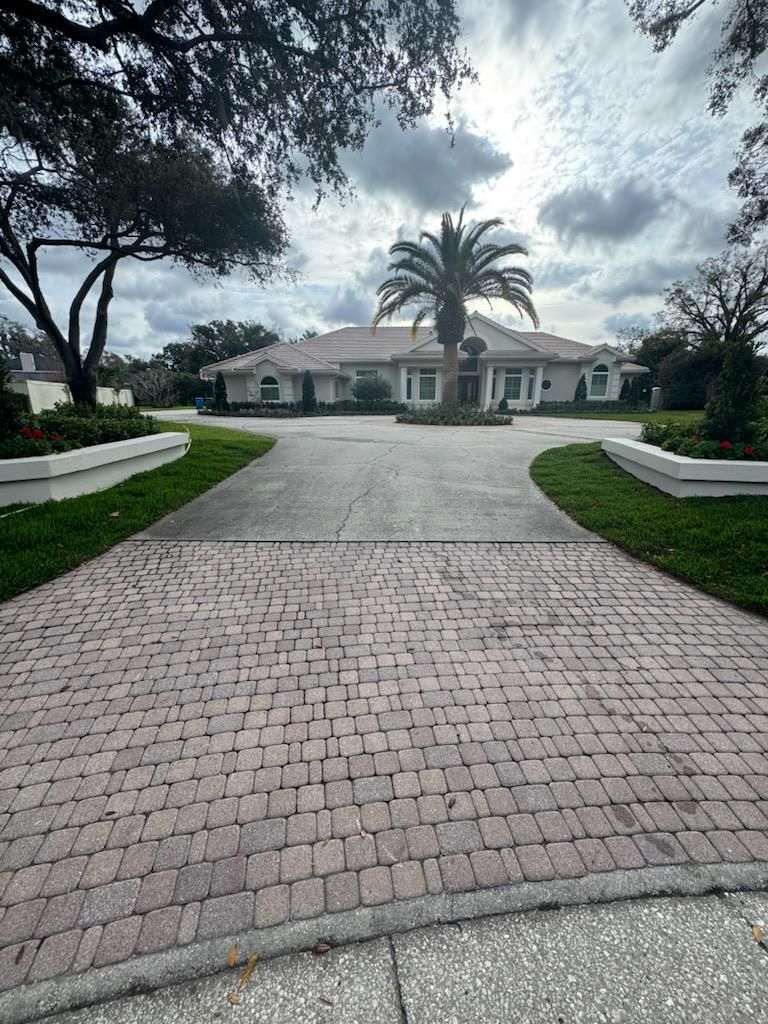
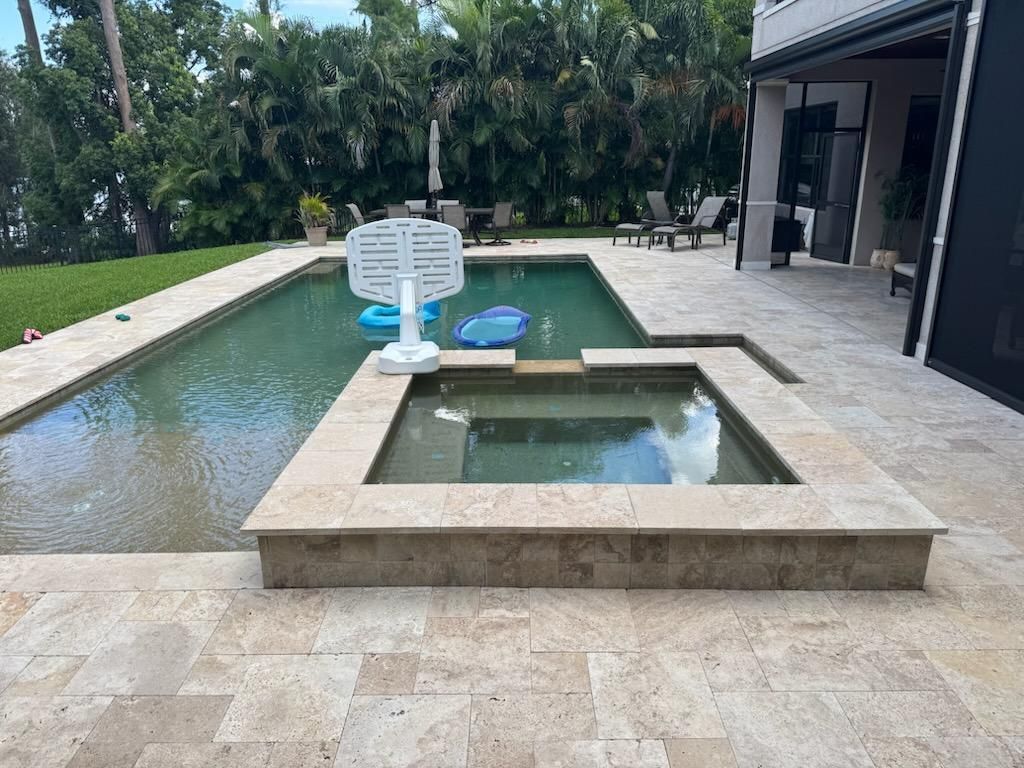
Paver sealing is one of the best ways to protect your driveway, patio, pool deck, or walkway. When done correctly, sealing enhances color, prevents weeds, resists stains, and extends the life of your pavers. But while DIY sealing might sound simple, it’s one of those projects where mistakes can be costly and permanent.
Before you grab a roller and a bucket of sealer, here are some important tips to know and why hiring a professional is often the smarter investment.
Essential Tips for Proper Paver Sealing
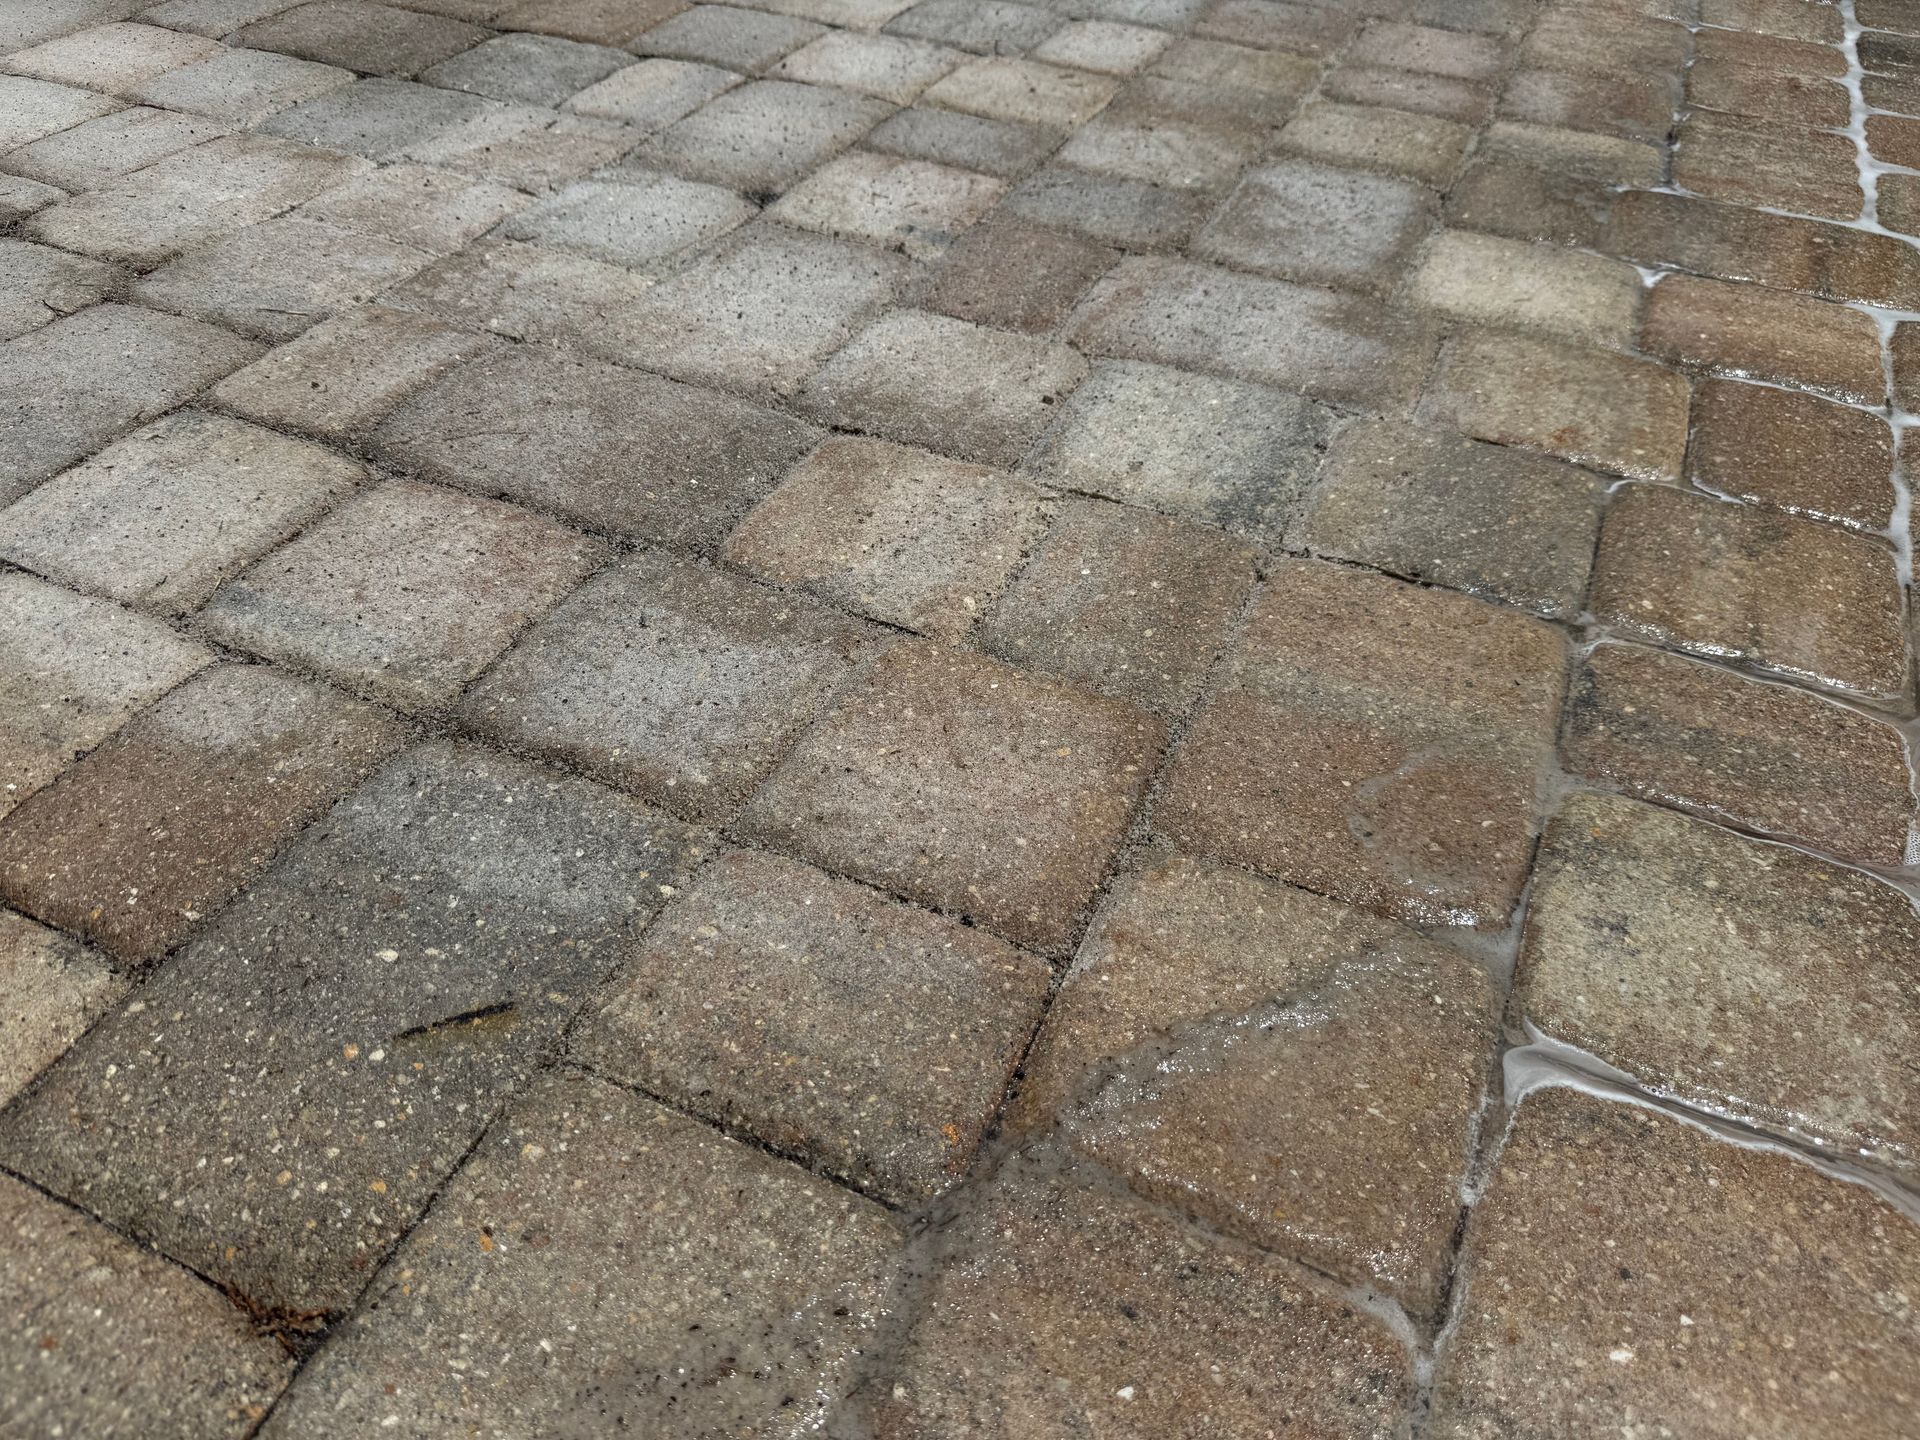
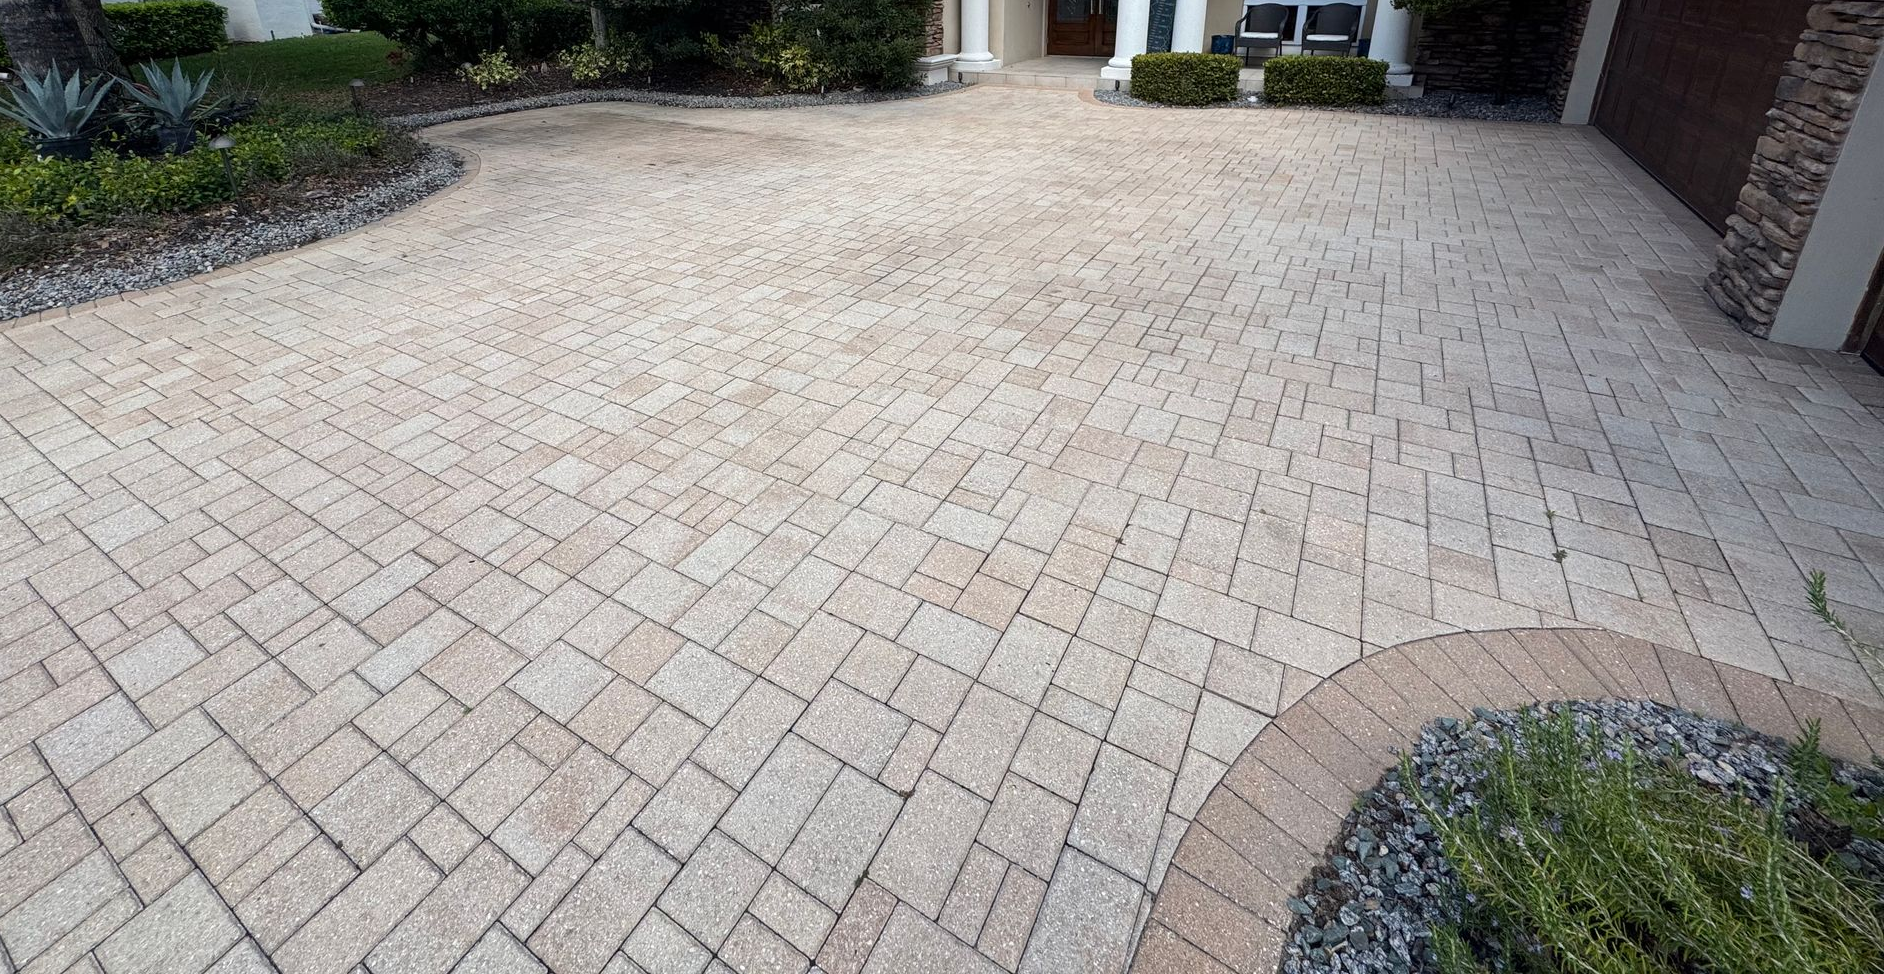
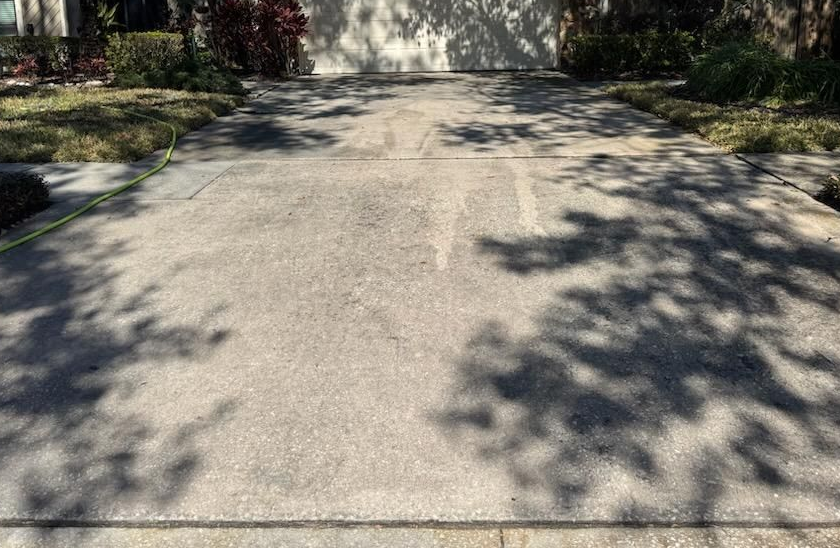
1. Start with a Deep, Thorough Cleaning
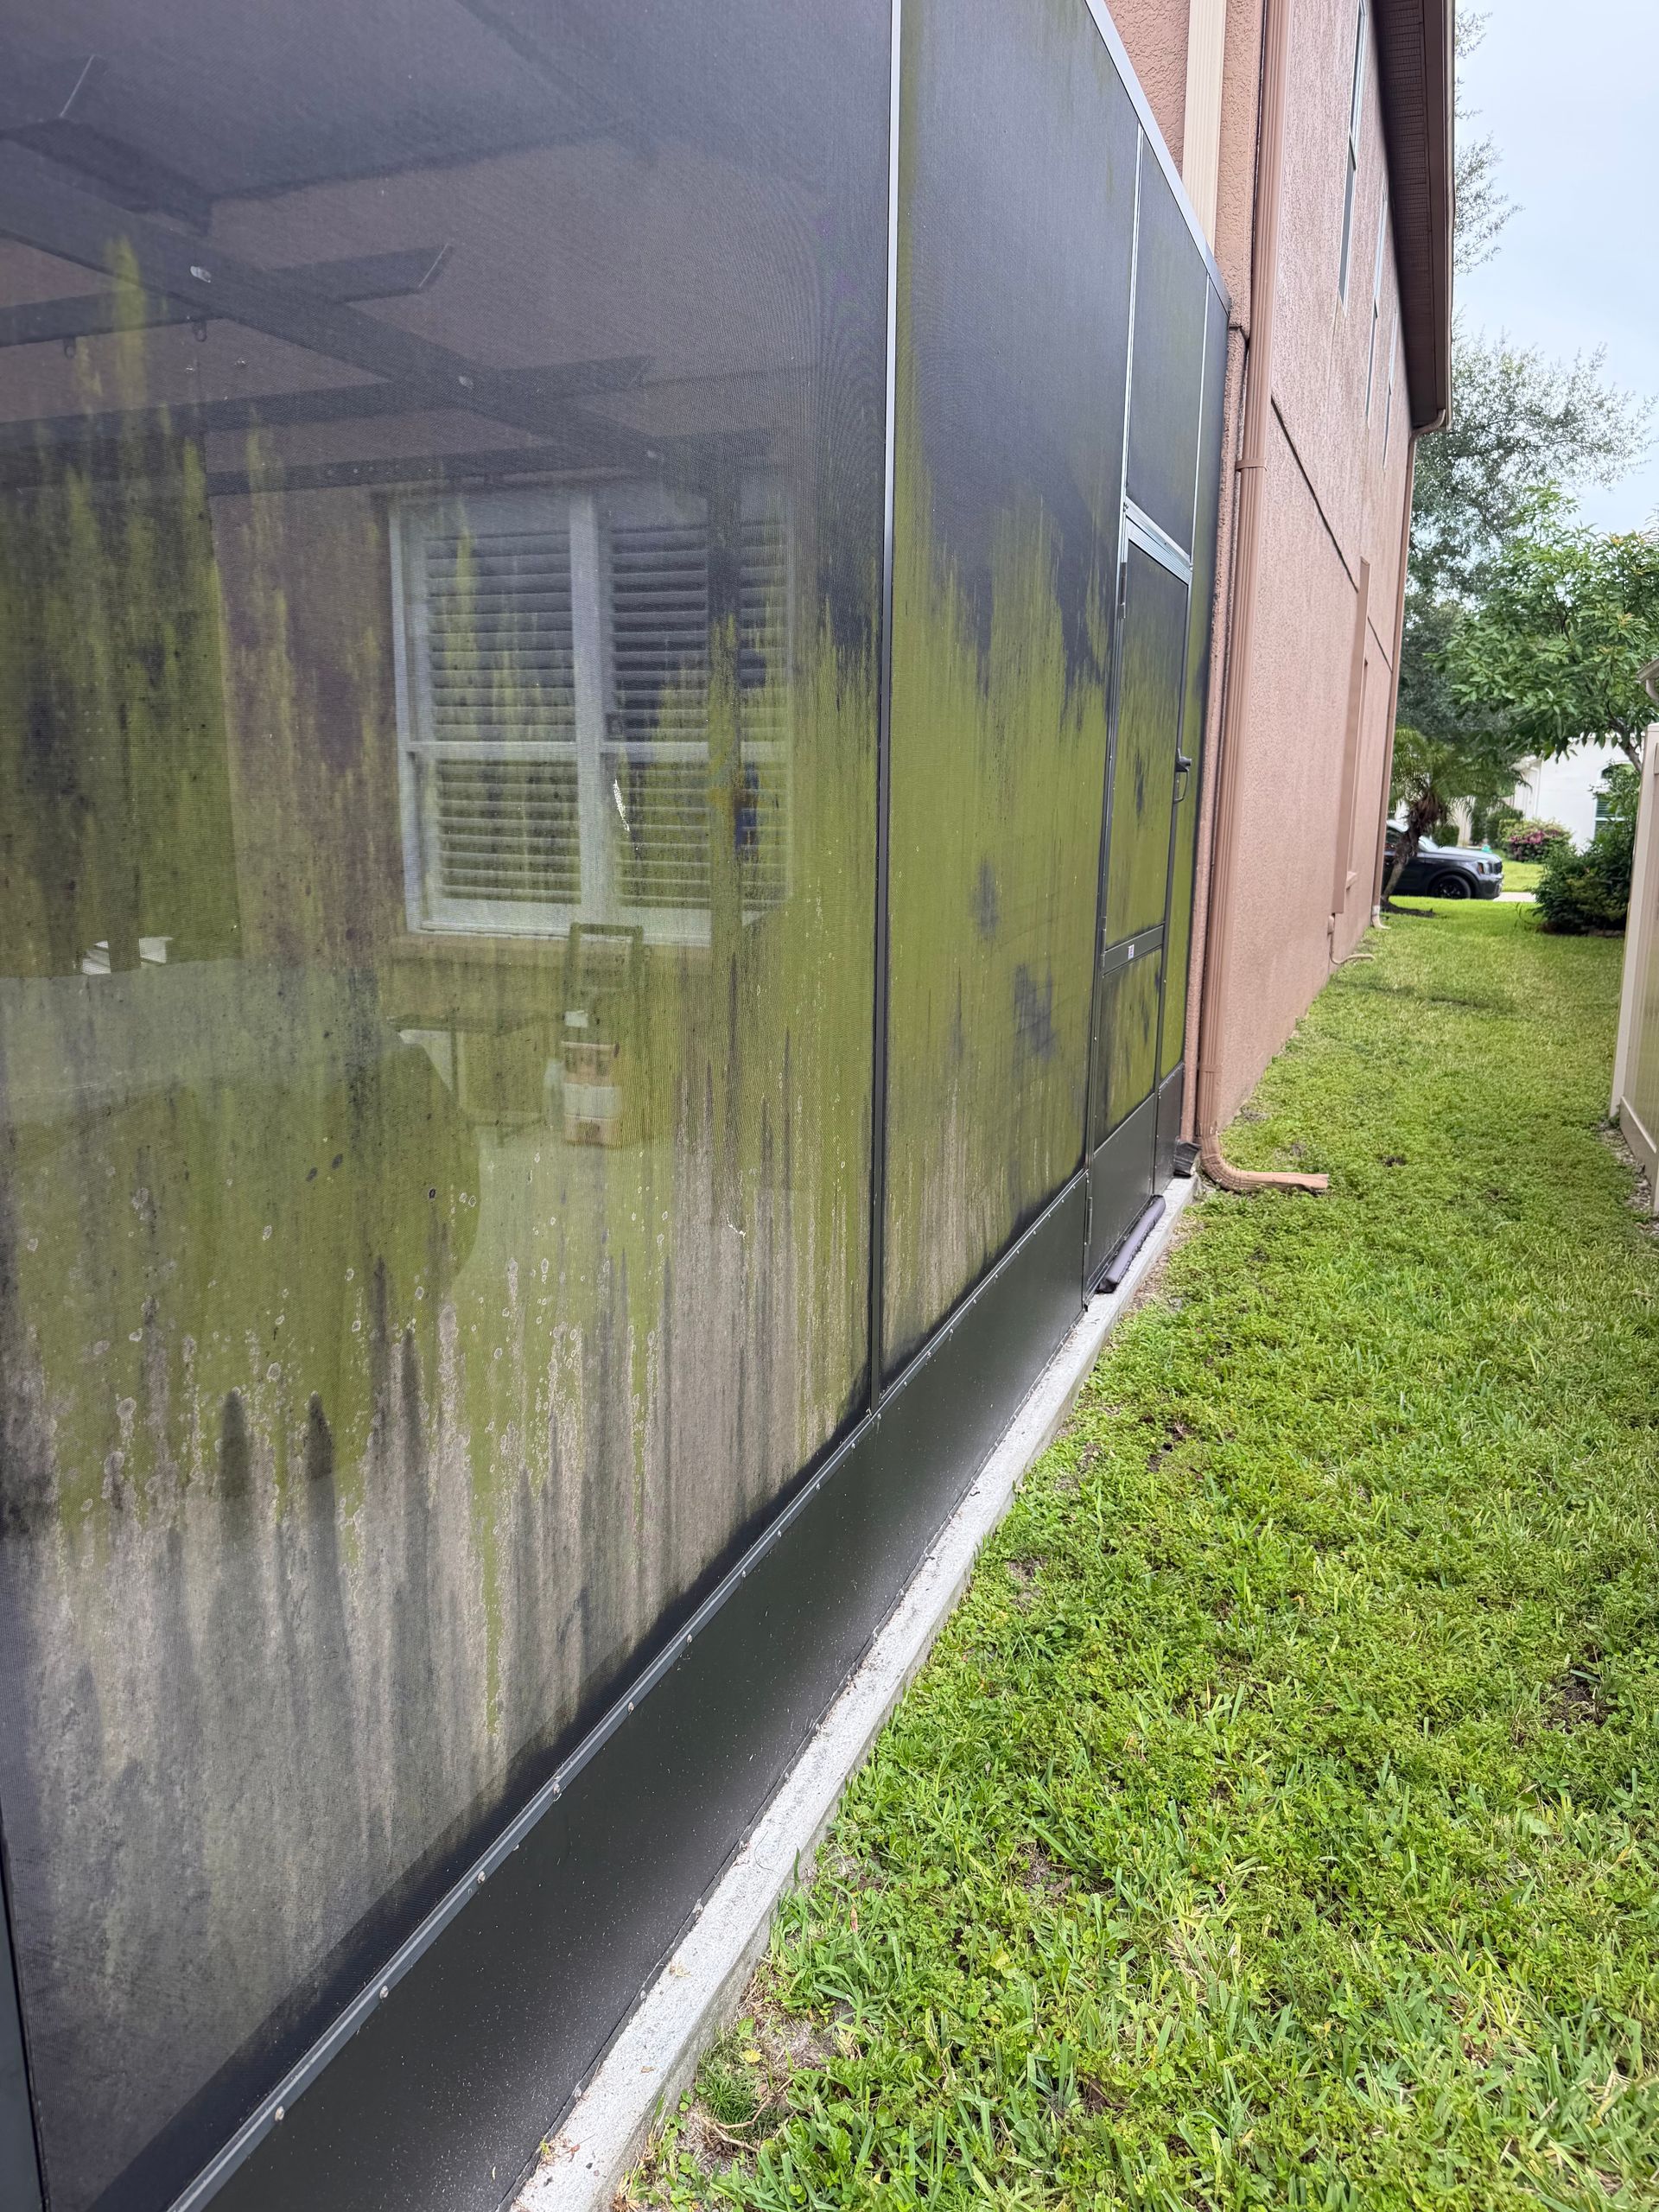
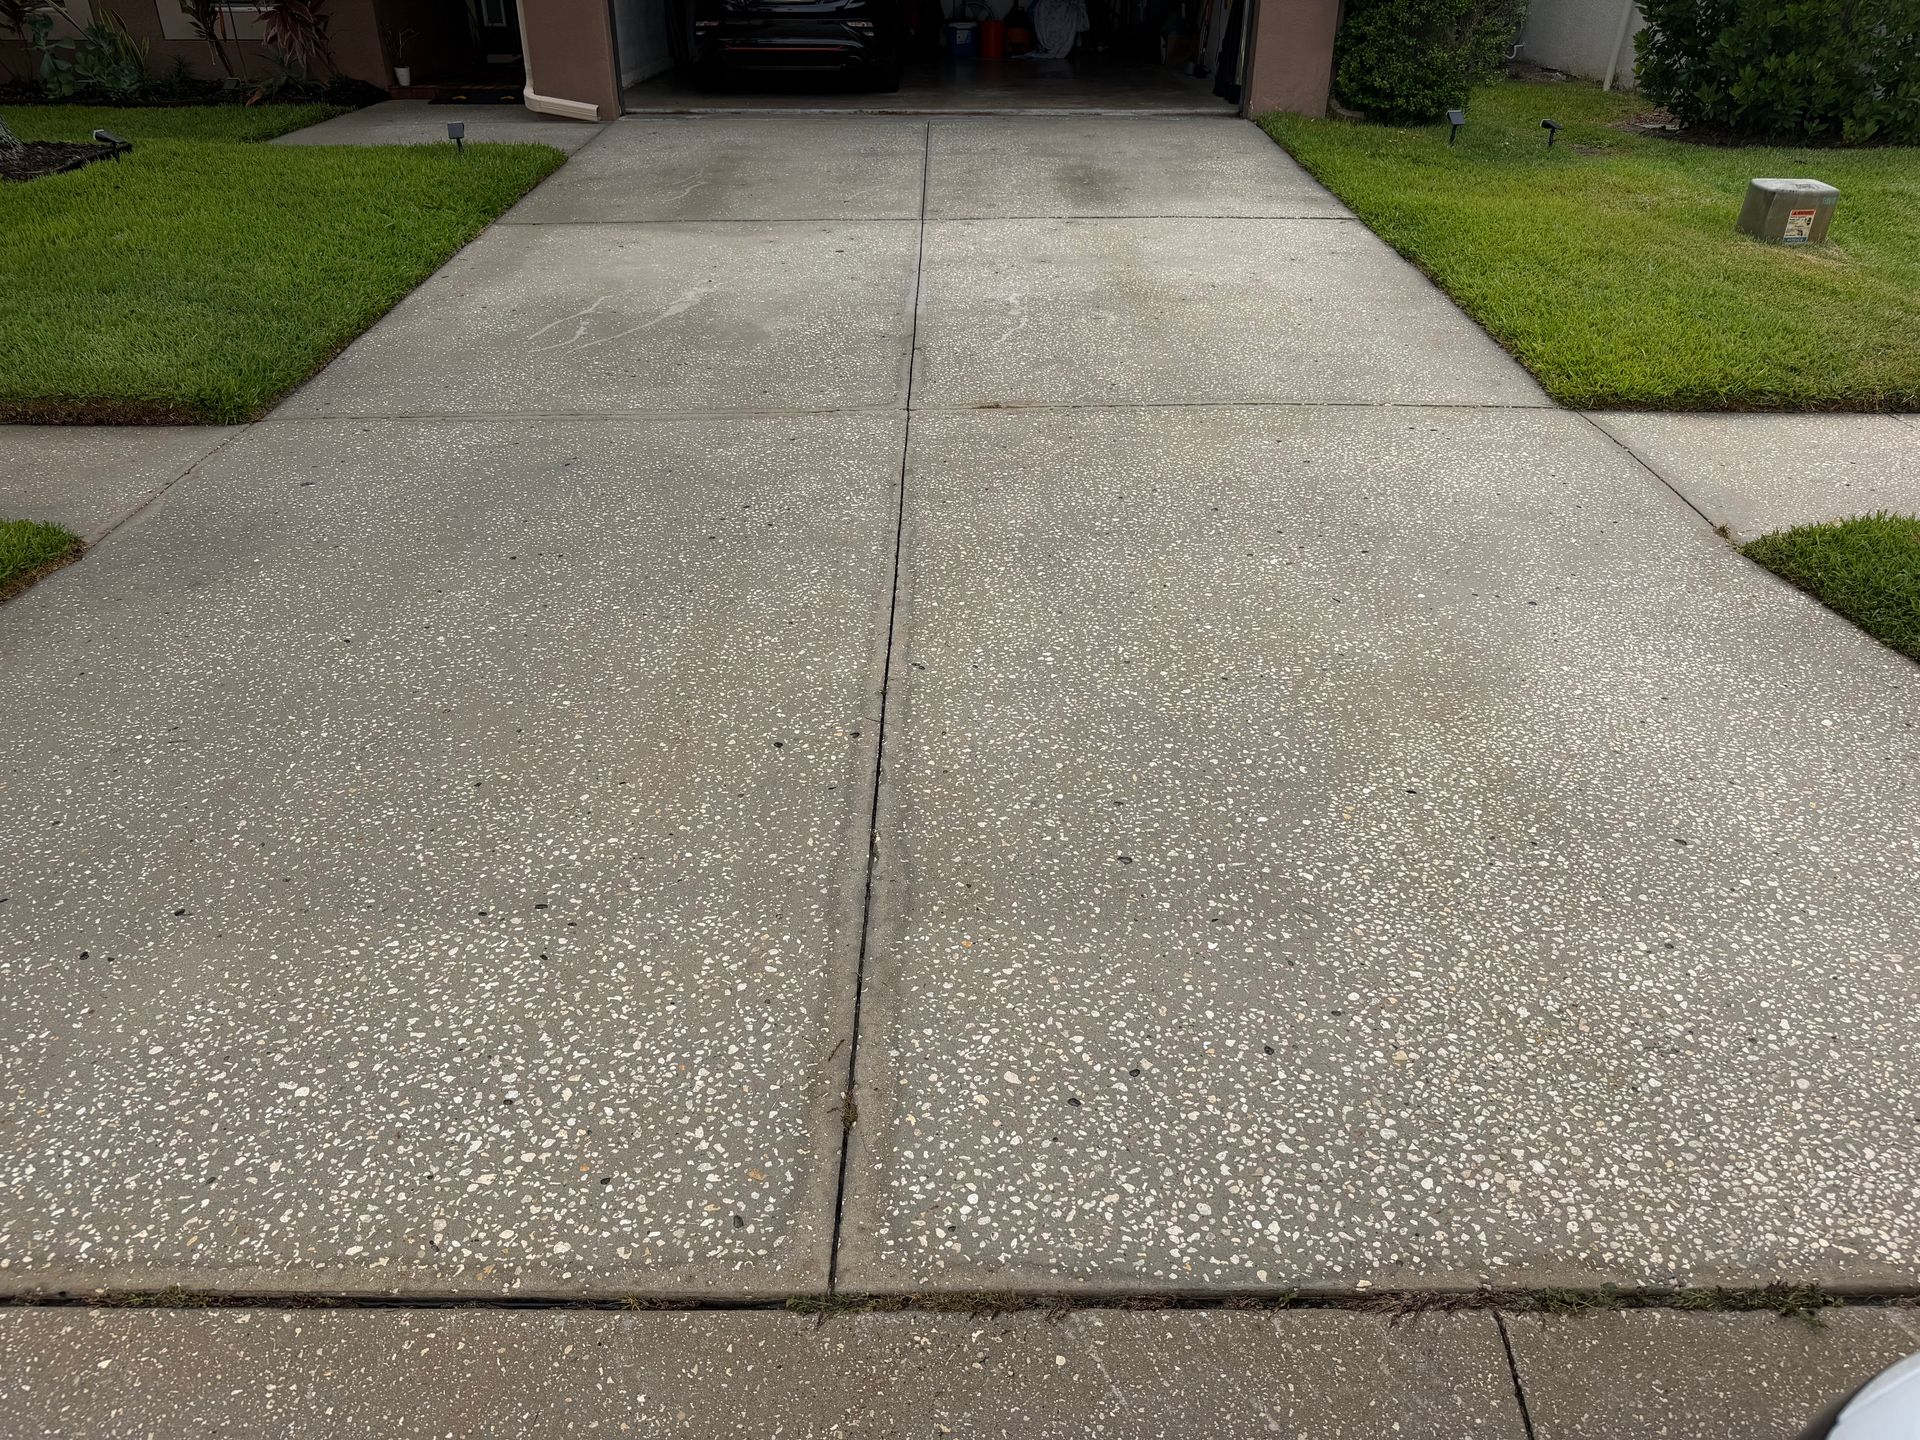
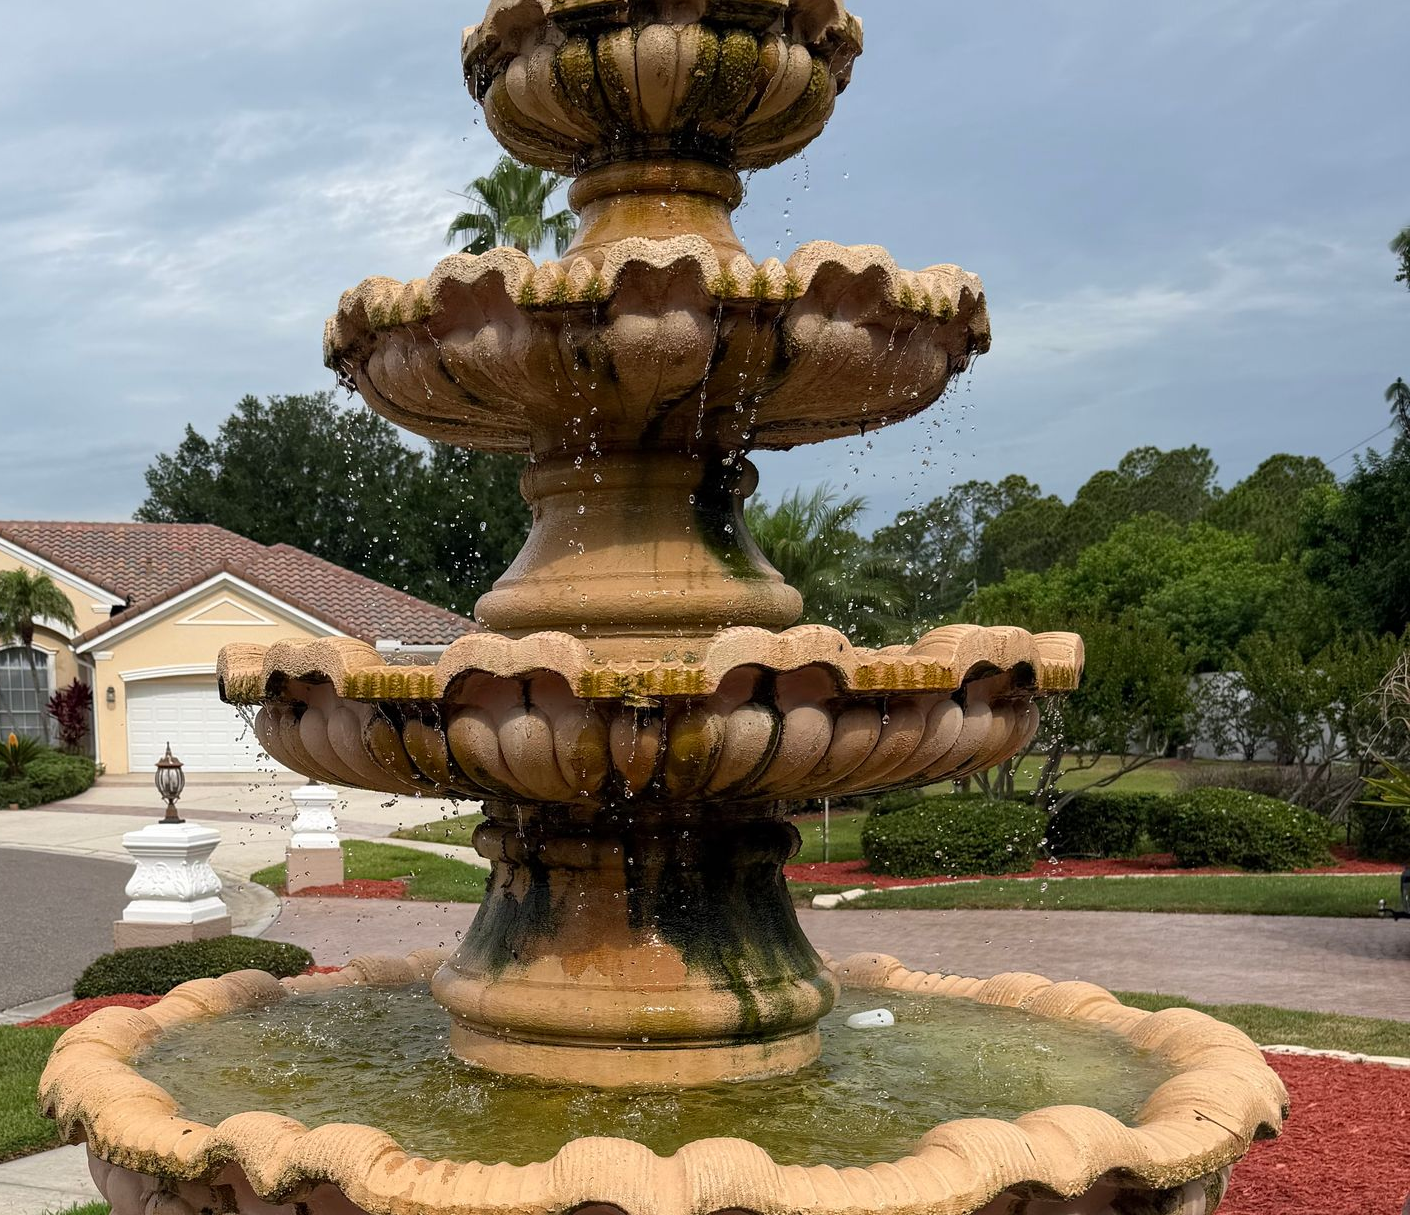
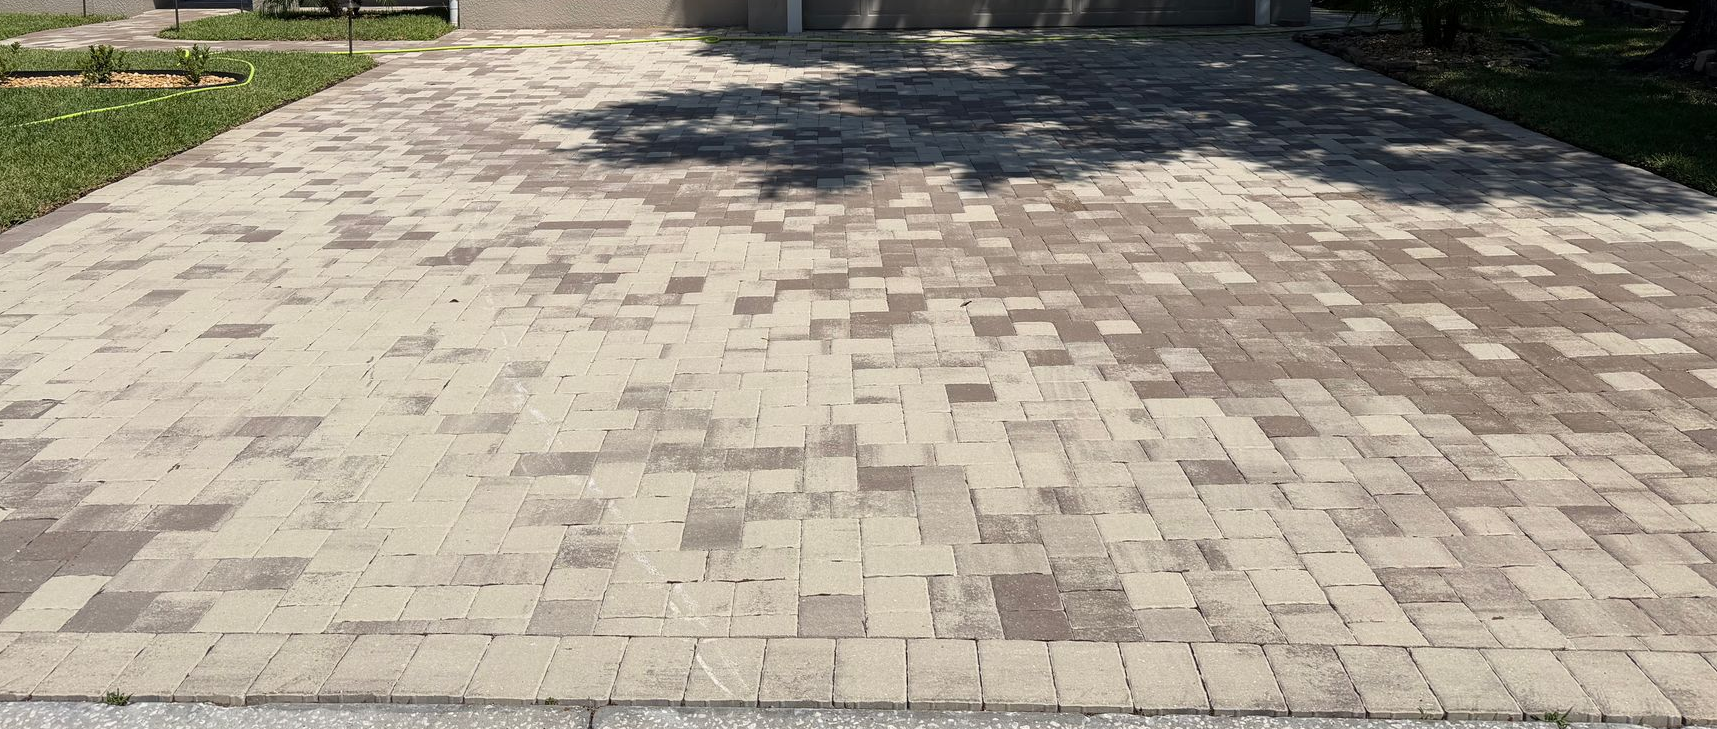
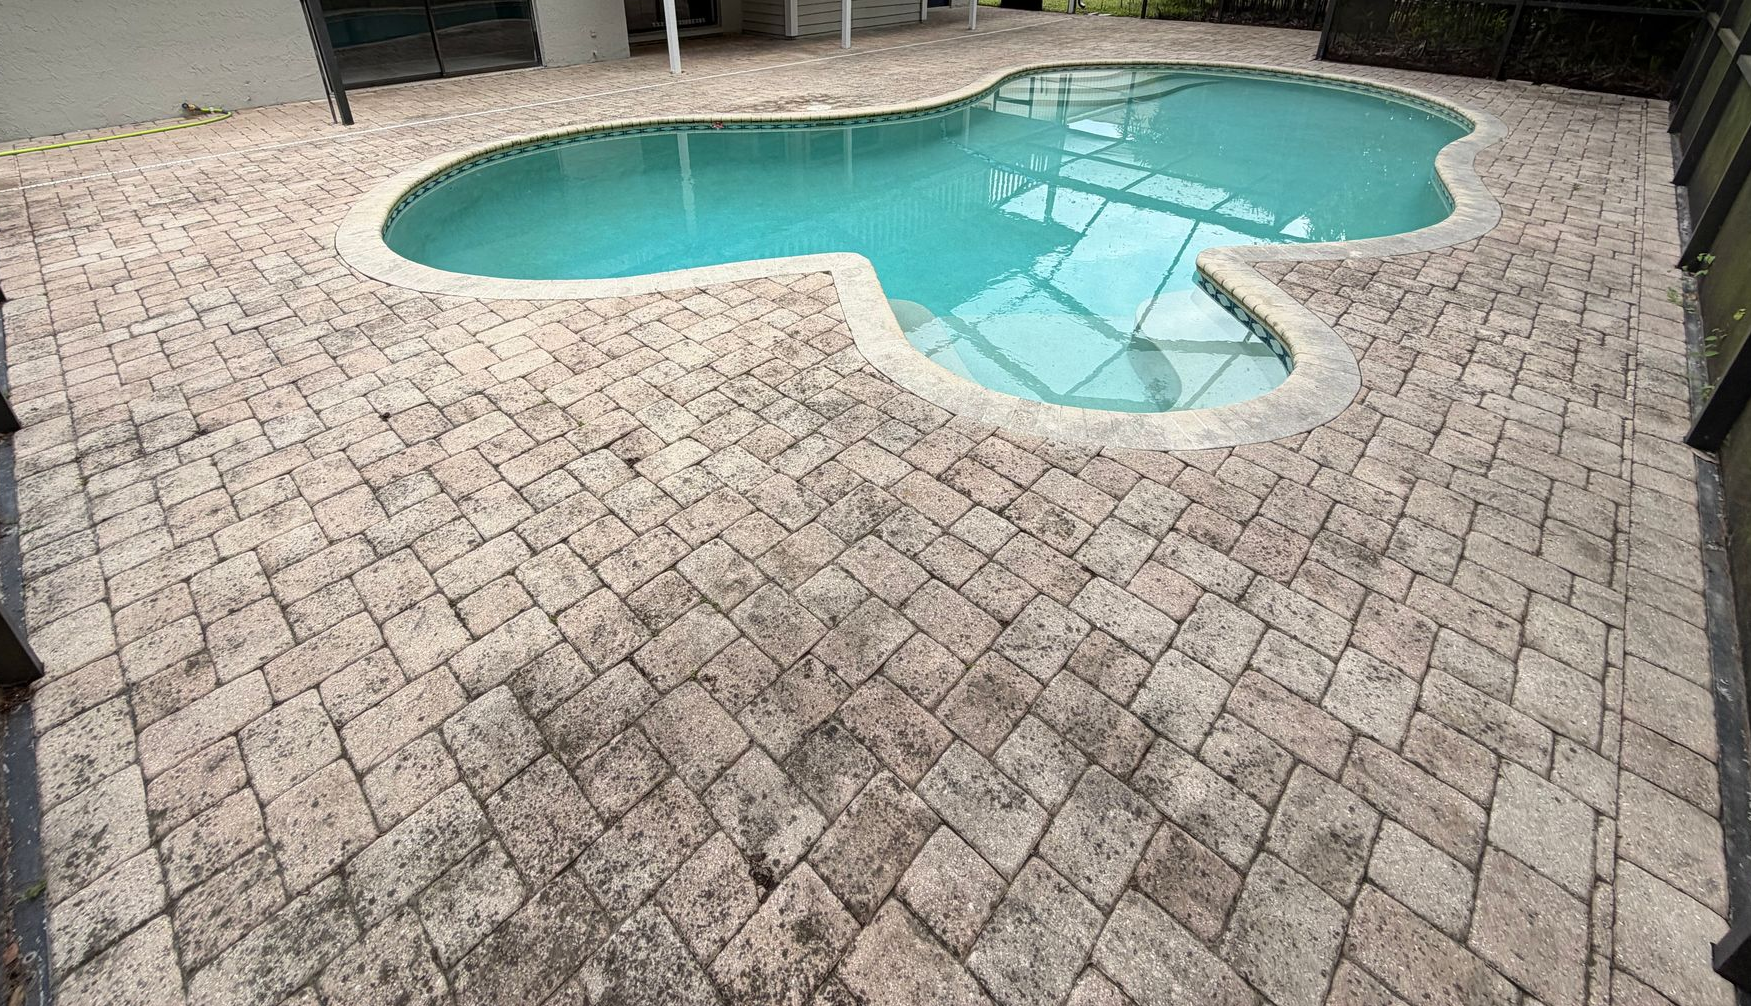
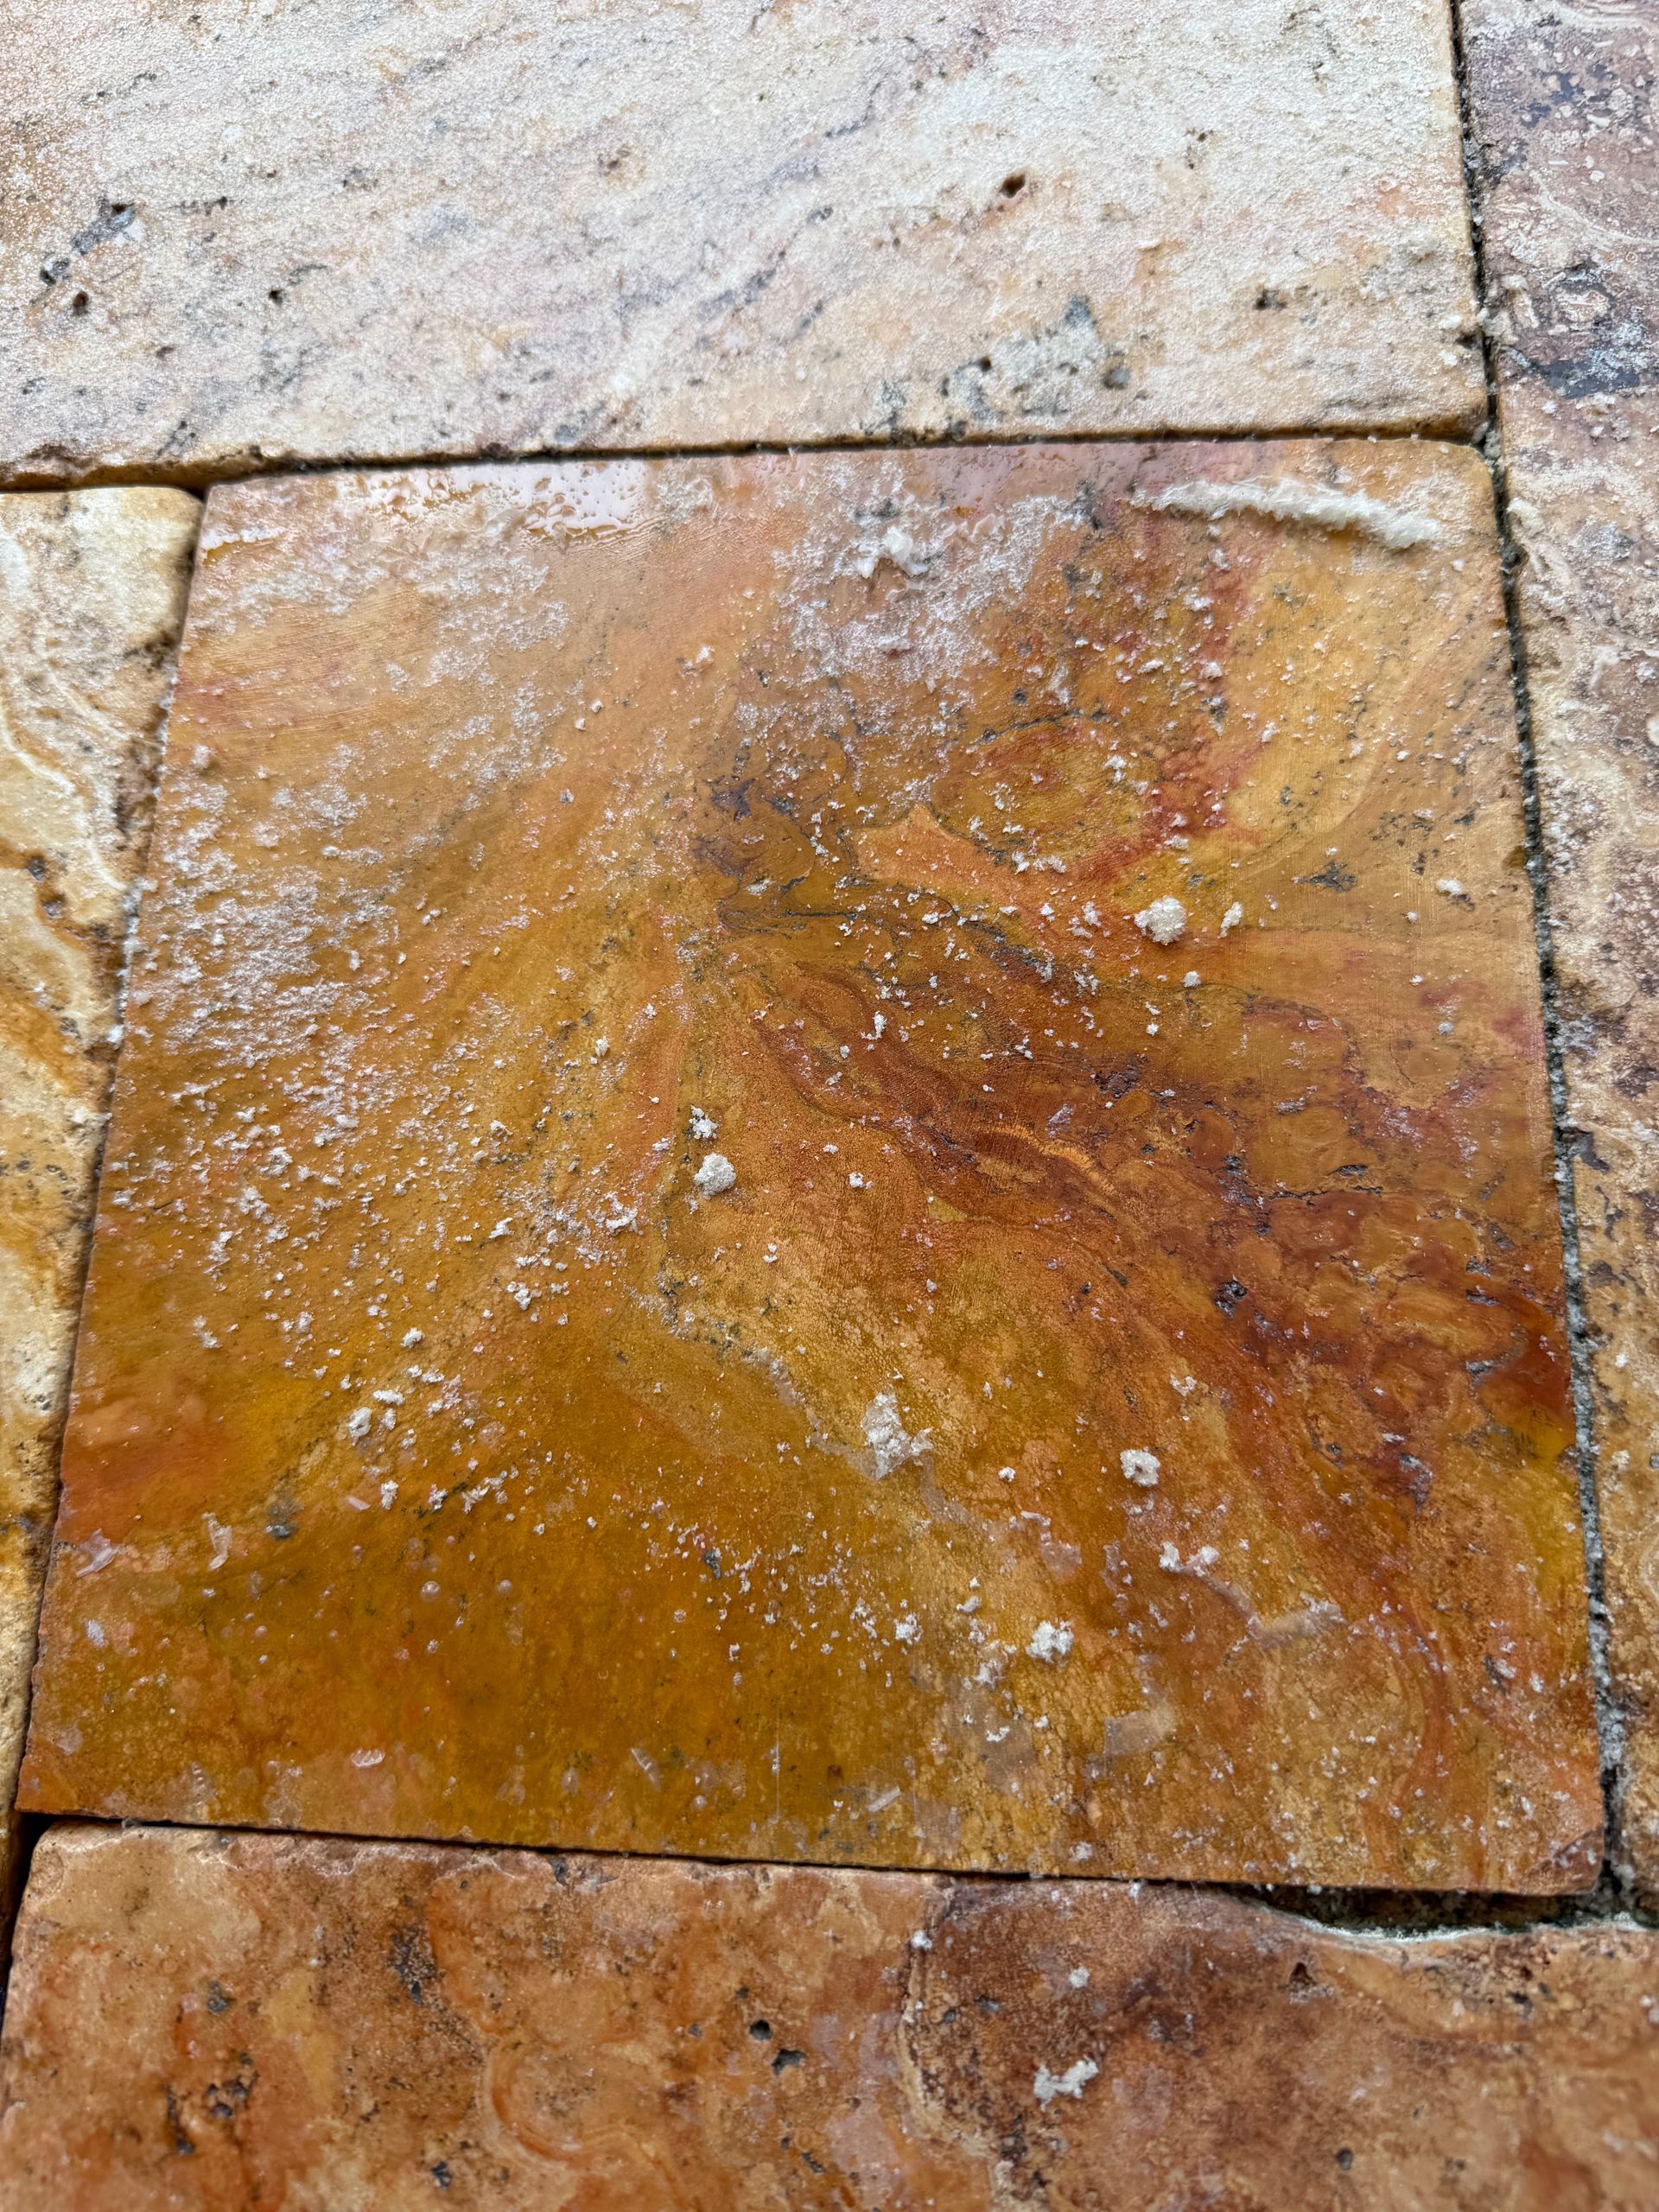
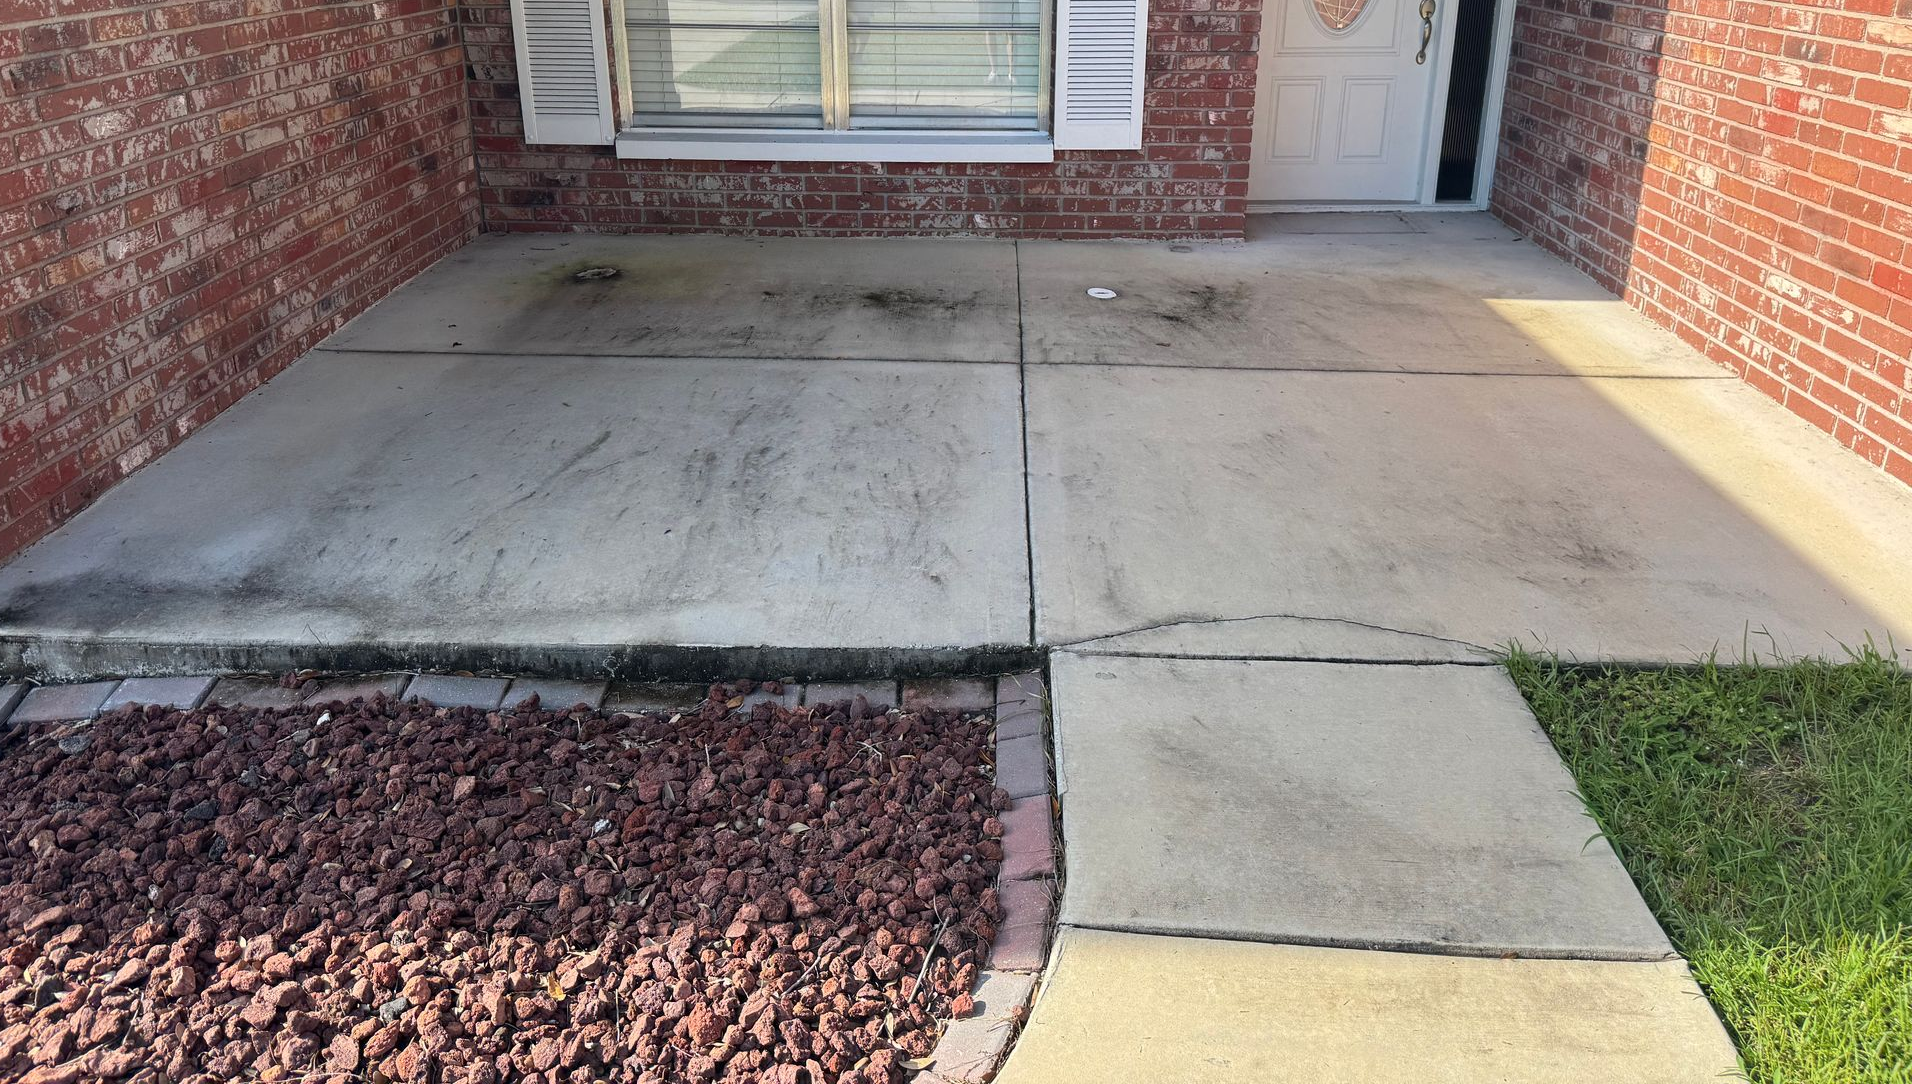
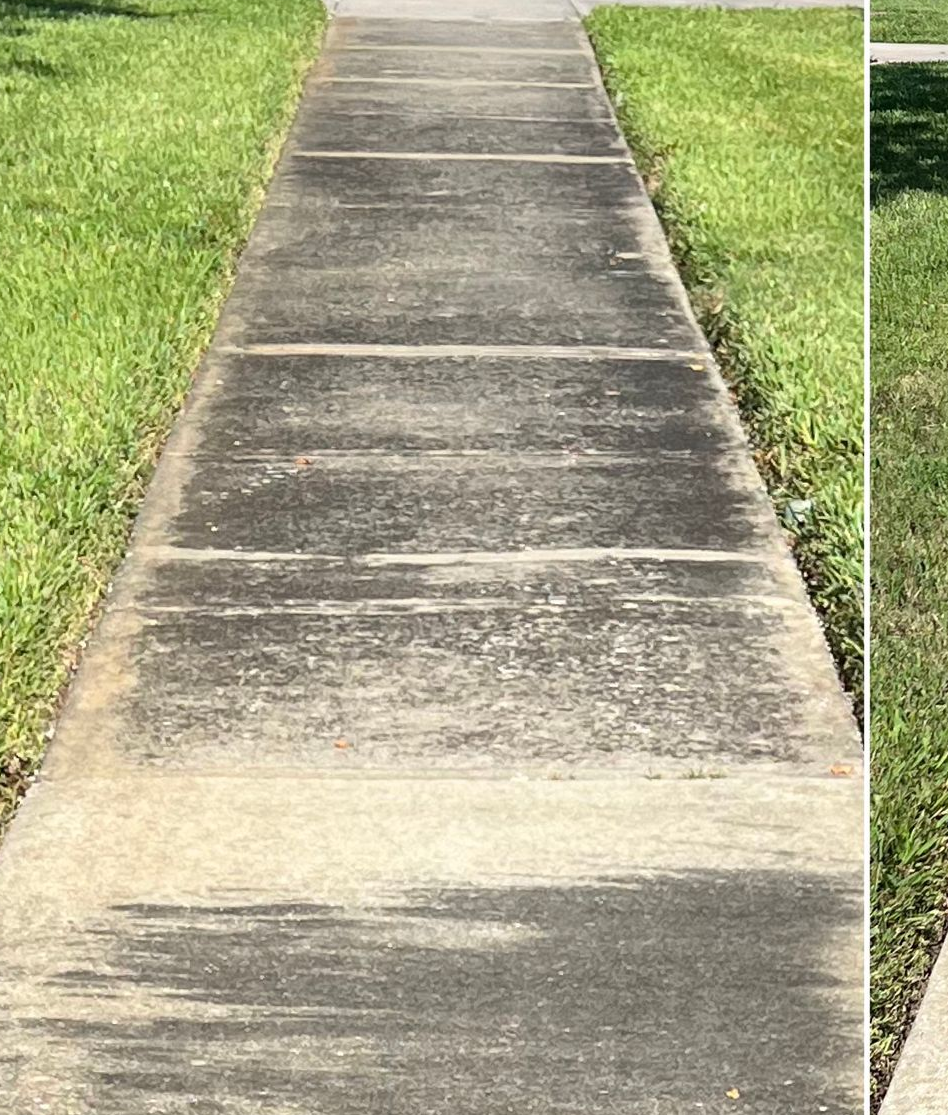
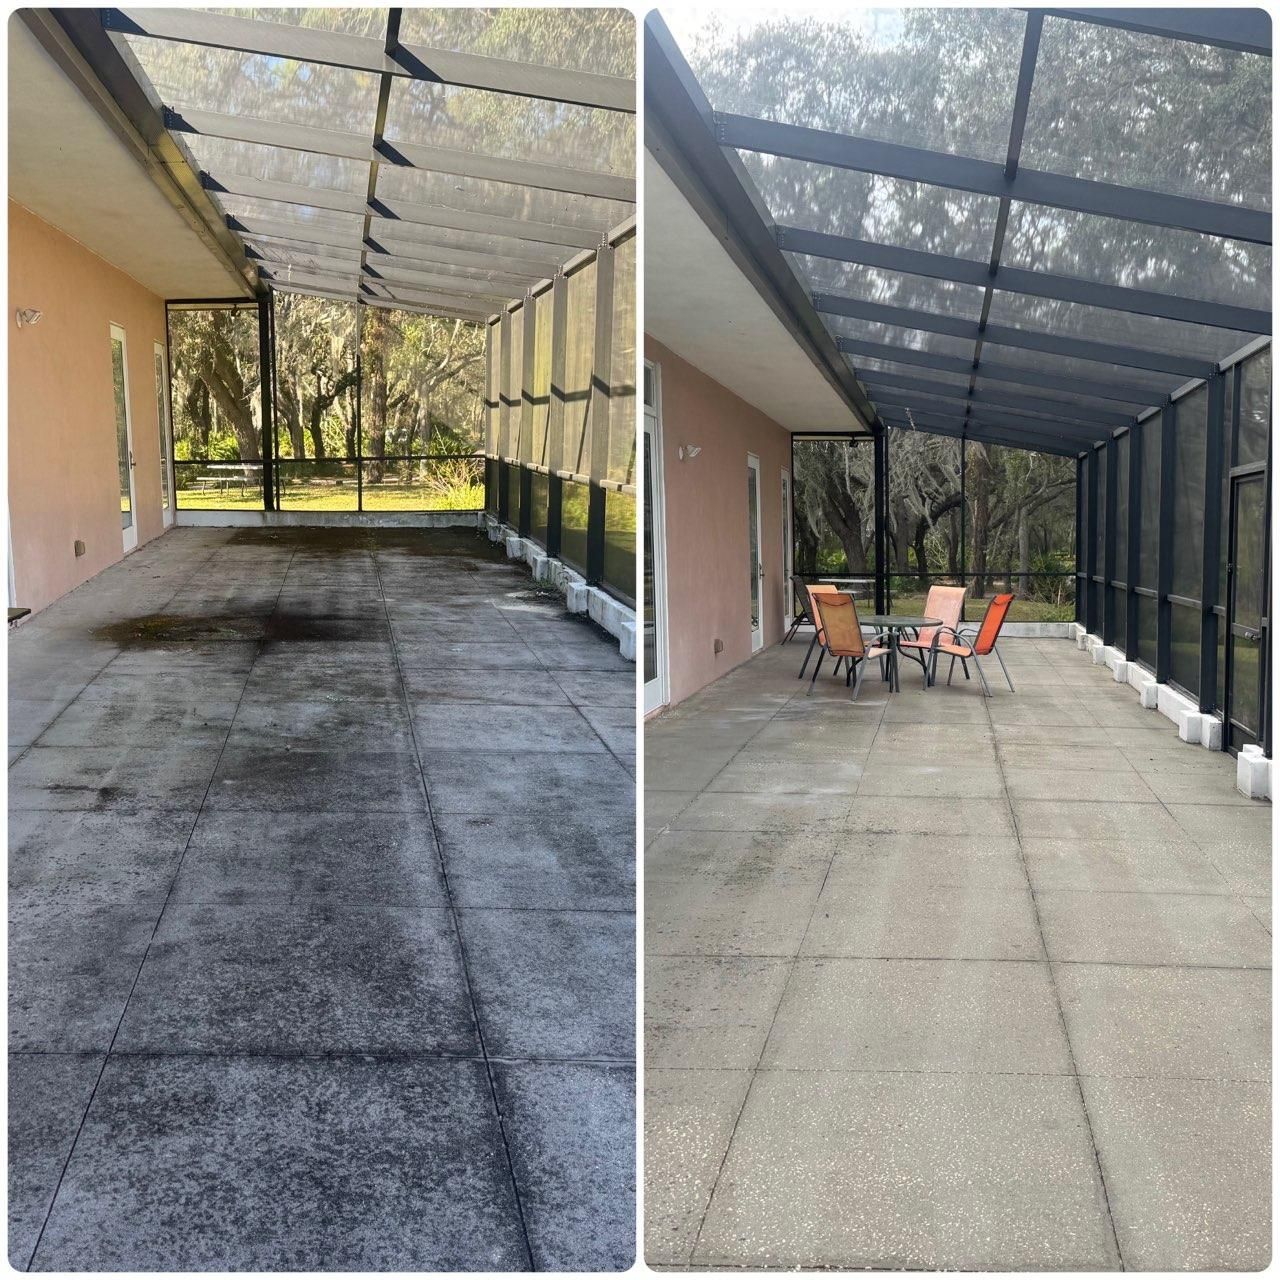
Sealing dirty pavers locks in grime, mold, algae, and stains forever. Pavers must be properly pressure washed, with joint sand cleared of debris, before sealing. This step alone trips up many DIY projects.
2. Let Pavers Dry Completely
Moisture is the enemy of sealer adhesion. Pavers need at least 24–48 hours of dry weather before sealing. Sealing too soon can cause cloudiness, peeling, or uneven results.
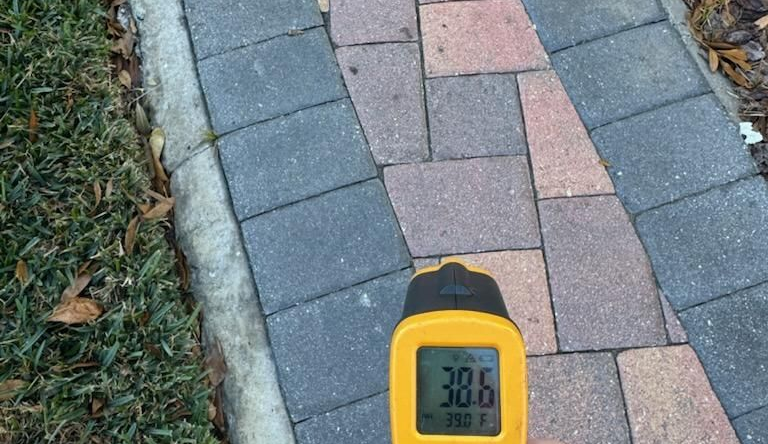
3. Paver Temperature Matters More Than You Think
Paver temperature plays a major role in how well sealer bonds and cures. Even if the air temperature feels comfortable, pavers exposed to direct sunlight can become significantly hotter.
If pavers are too hot, sealer can flash-dry before it has time to penetrate properly. This often leads to roller marks, streaking, bubbling, or an uneven finish that’s difficult to fix. If pavers are too cool, the sealer may not cure correctly, resulting in cloudiness, poor adhesion, or premature failure.
Most sealers have a specific application temperature range based on the surface temperature of the pavers not just the air. Professionals monitor conditions closely and know the right time of day to apply sealer, adjust techniques, or delay the job altogether for best results.
4. Choose the Right Sealer
Not all sealers are created equal. Water-based vs. solvent-based, wet-look vs. natural finish choosing the wrong product can permanently alter the appearance of your pavers or shorten the lifespan of the seal.
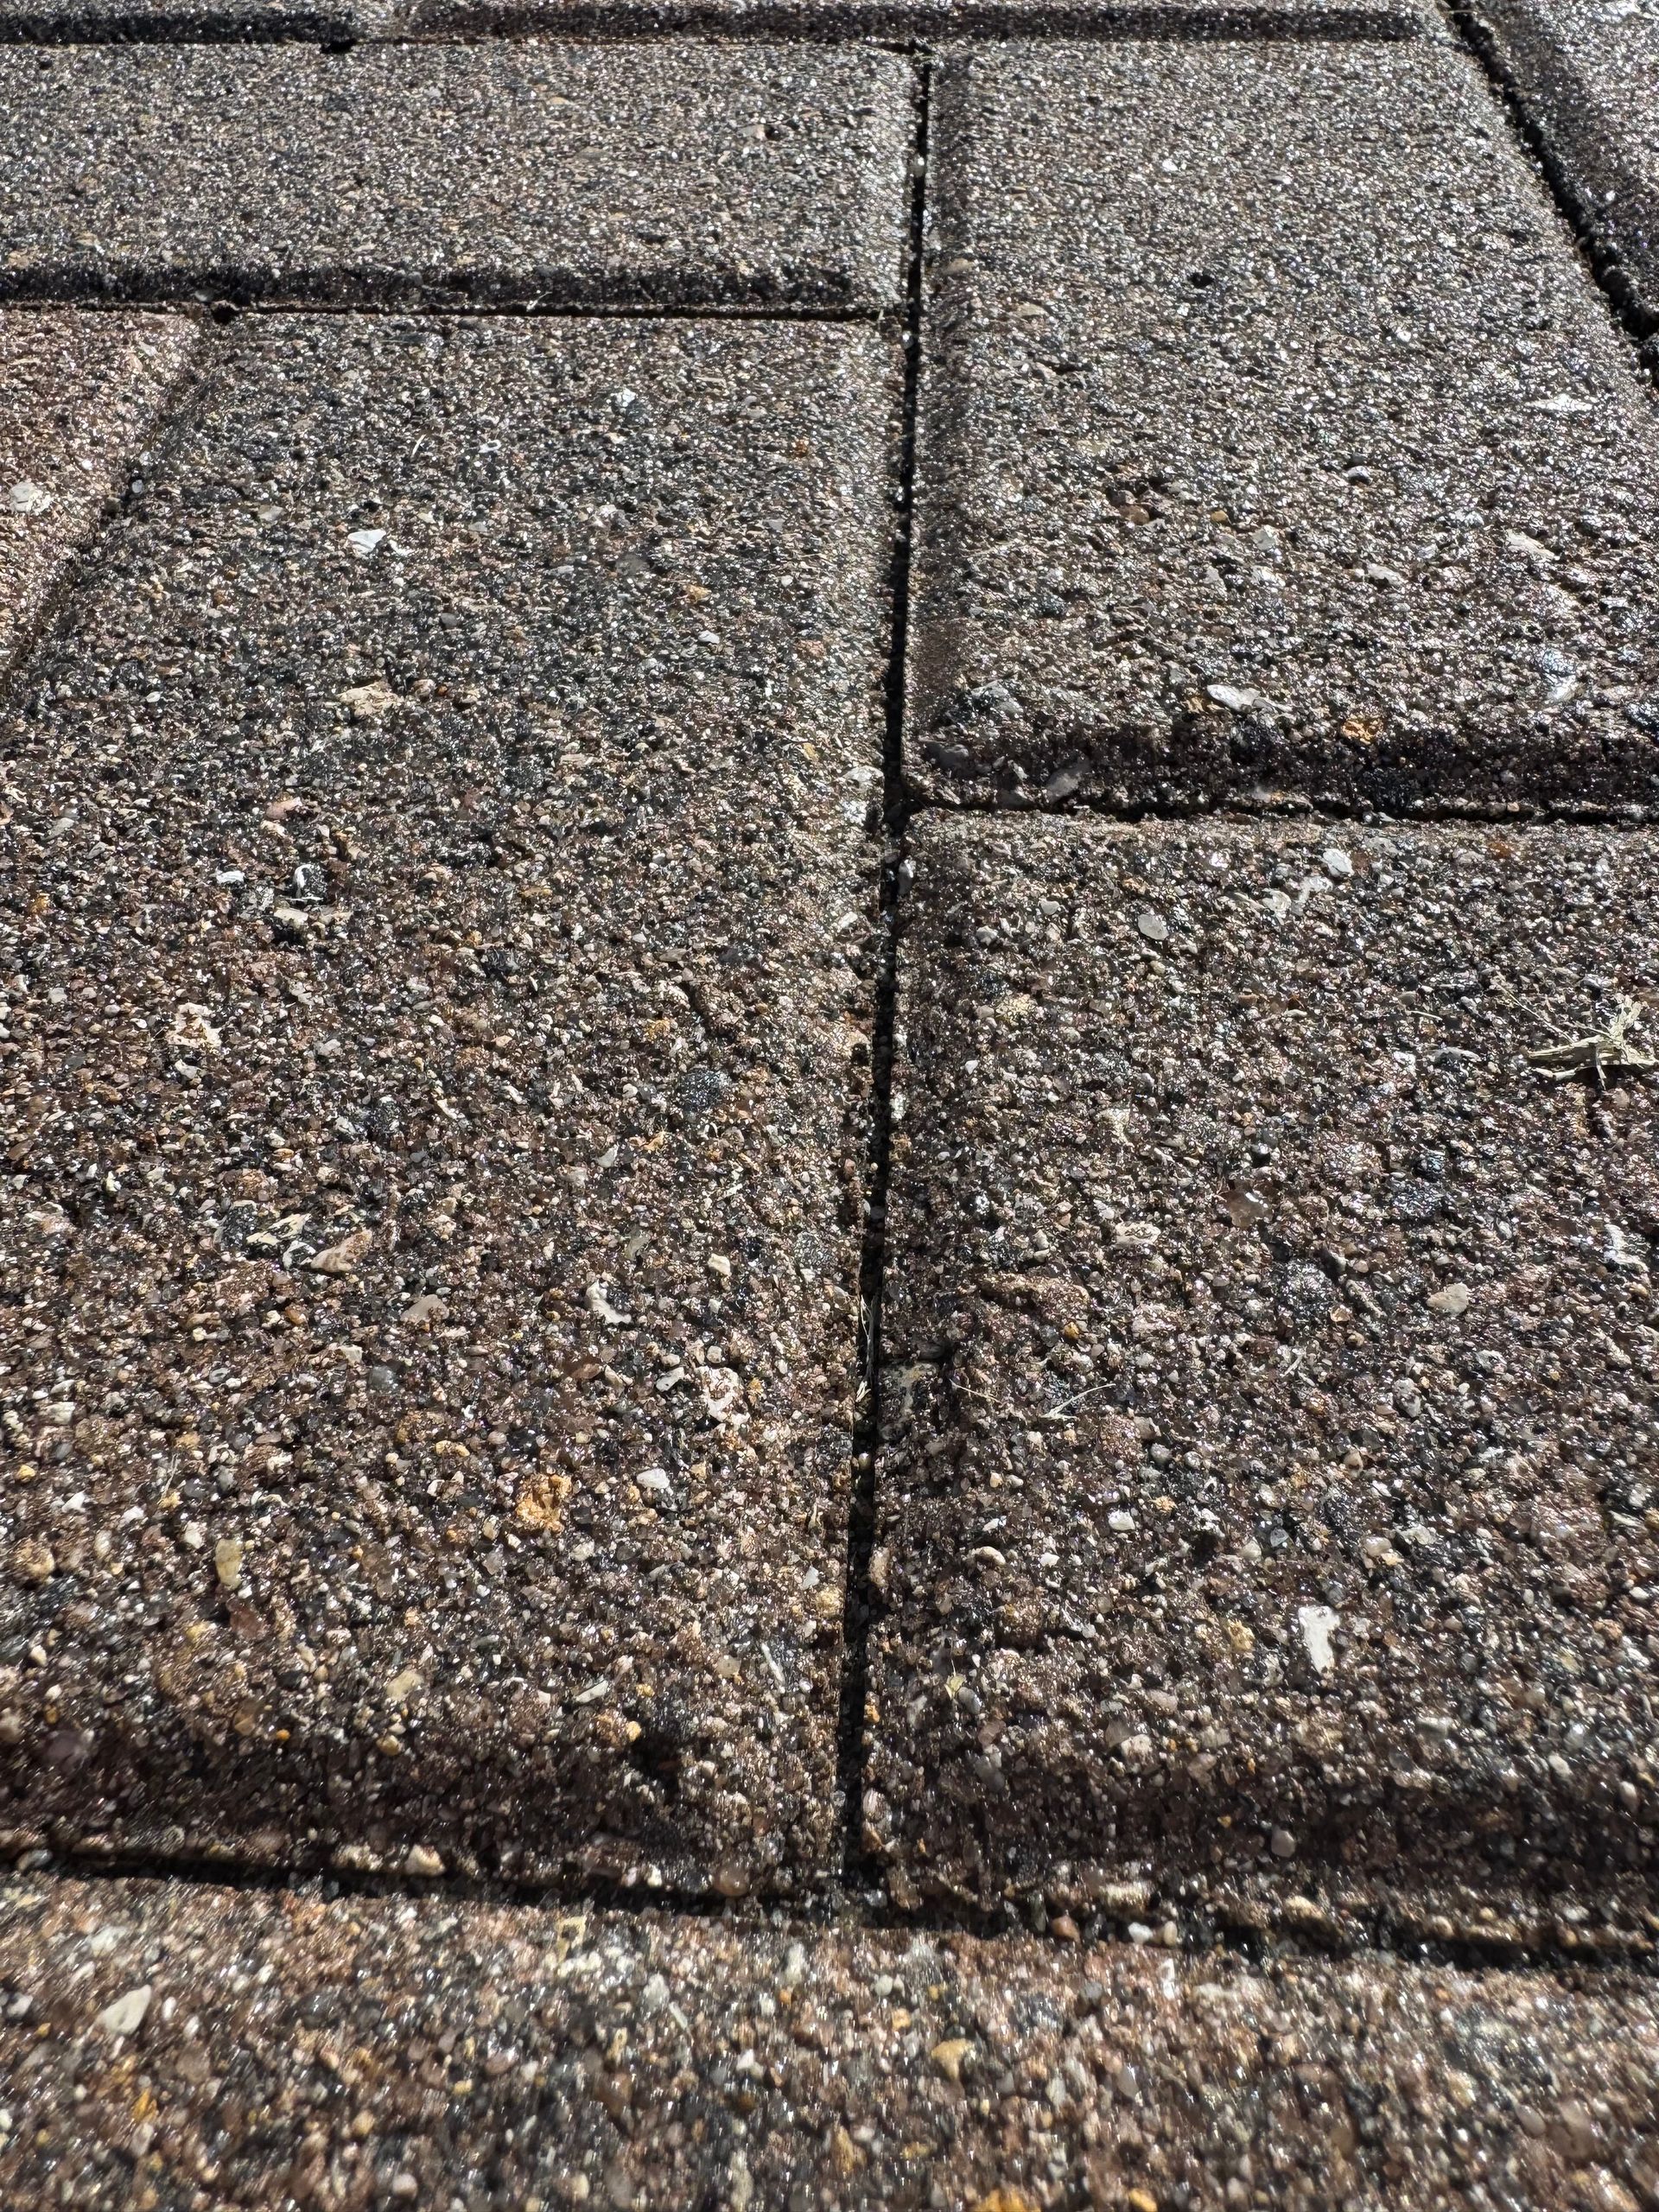
5. Re-Sand the Joints Properly
Polymeric or joint sand helps lock pavers in place while preventing weeds and ants. Using the wrong sand or skipping this step can lead to shifting pavers and joint failure.
6. Apply Evenly and at the Correct Rate
Too much sealer can leave pavers sticky or blotchy, while too little provides minimal protection. Proper application technique and coverage are critical for a professional-looking finish.
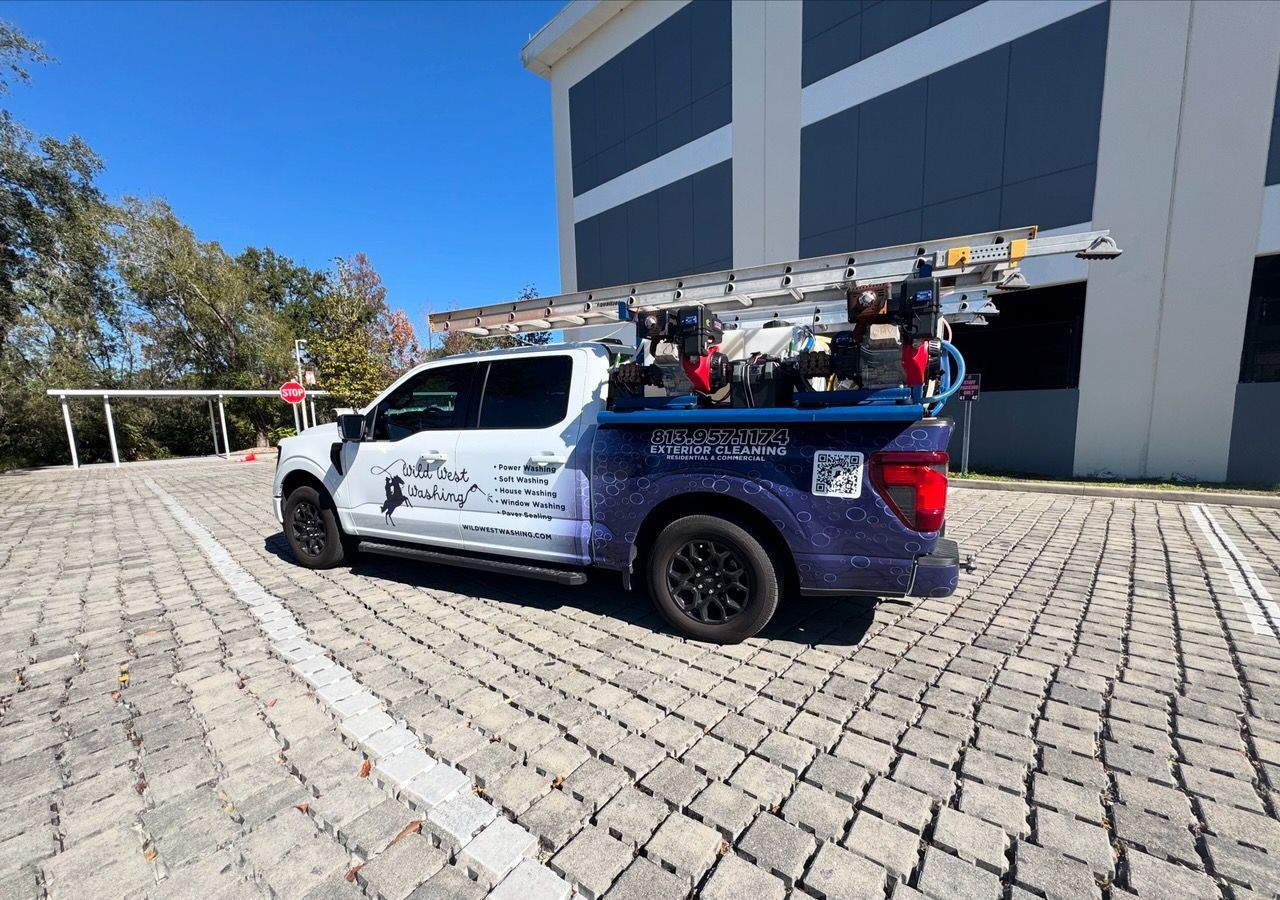
Why Hiring a Professional Is Often the Better Choice
Professional Equipment & Products
Professionals use commercial-grade cleaners, sealers, and sprayers that aren’t available at big-box stores, resulting in a more uniform, longer-lasting finish.
Experience Prevents Costly Mistakes
Over-application, trapped moisture, incorrect temperature conditions, or the wrong sealer choice can permanently damage pavers. A professional knows how to avoid these issues and how to fix problems before sealing.
Time & Convenience
DIY paver sealing can take an entire weekend (or longer) when you factor in cleaning, drying, sanding, and sealing. Hiring a professional saves time, effort, and frustration.
Longer-Lasting Results
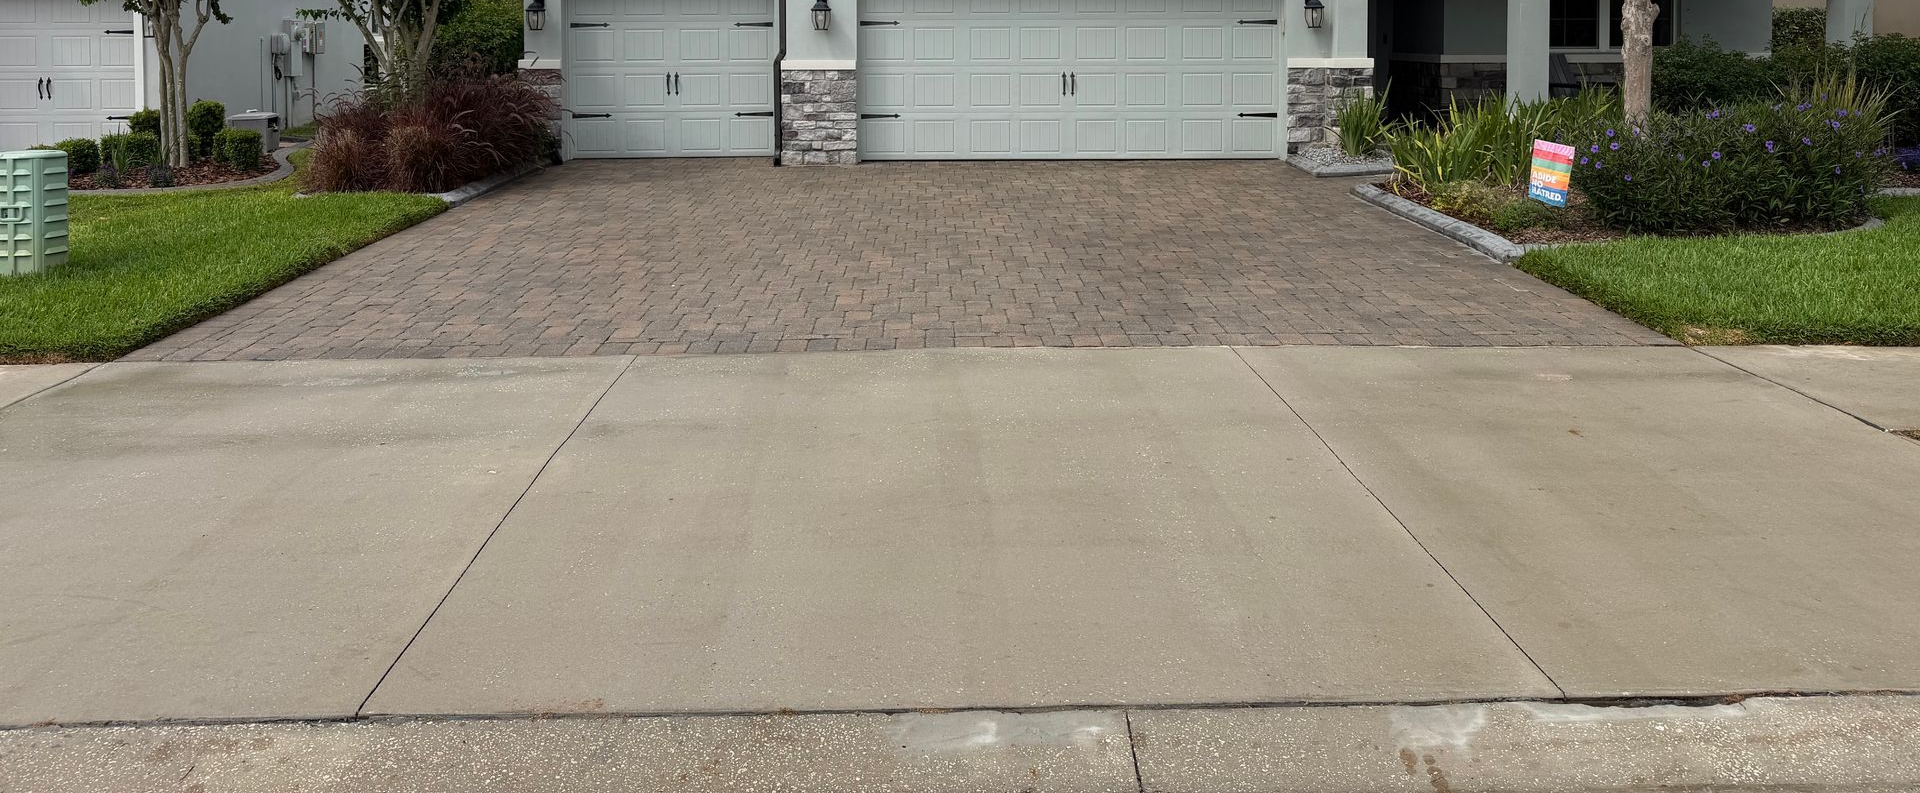
Properly sealed pavers by a professional typically last longer and perform better, meaning fewer reseals and repairs over time saving money in the long run.
Warranty & Peace of Mind
Most professional companies stand behind their work. If something goes wrong, you’re not left fixing it yourself.
DIY vs. Professional: The Bottom Line
While DIY paver sealing may seem like a way to save money upfront, the risk of uneven results, premature failure, or permanent damage often outweighs the savings. Professional paver sealing delivers better protection, improved curb appeal, and long-lasting results you can trust.
If you’ve invested in beautiful pavers, protecting them properly is worth it and sometimes, calling in the pros is the smartest move you can make.